Wednesday, April 30, 2014

Spring Gift Tag

Good afternoon!
Over the past few months I've seen some really beautiful gift tags on my adventures through the blogosphere. I love making greeting cards so I decided to make my first gift tag and can't wait until the opportunity arises to attach it to the present of someone special.


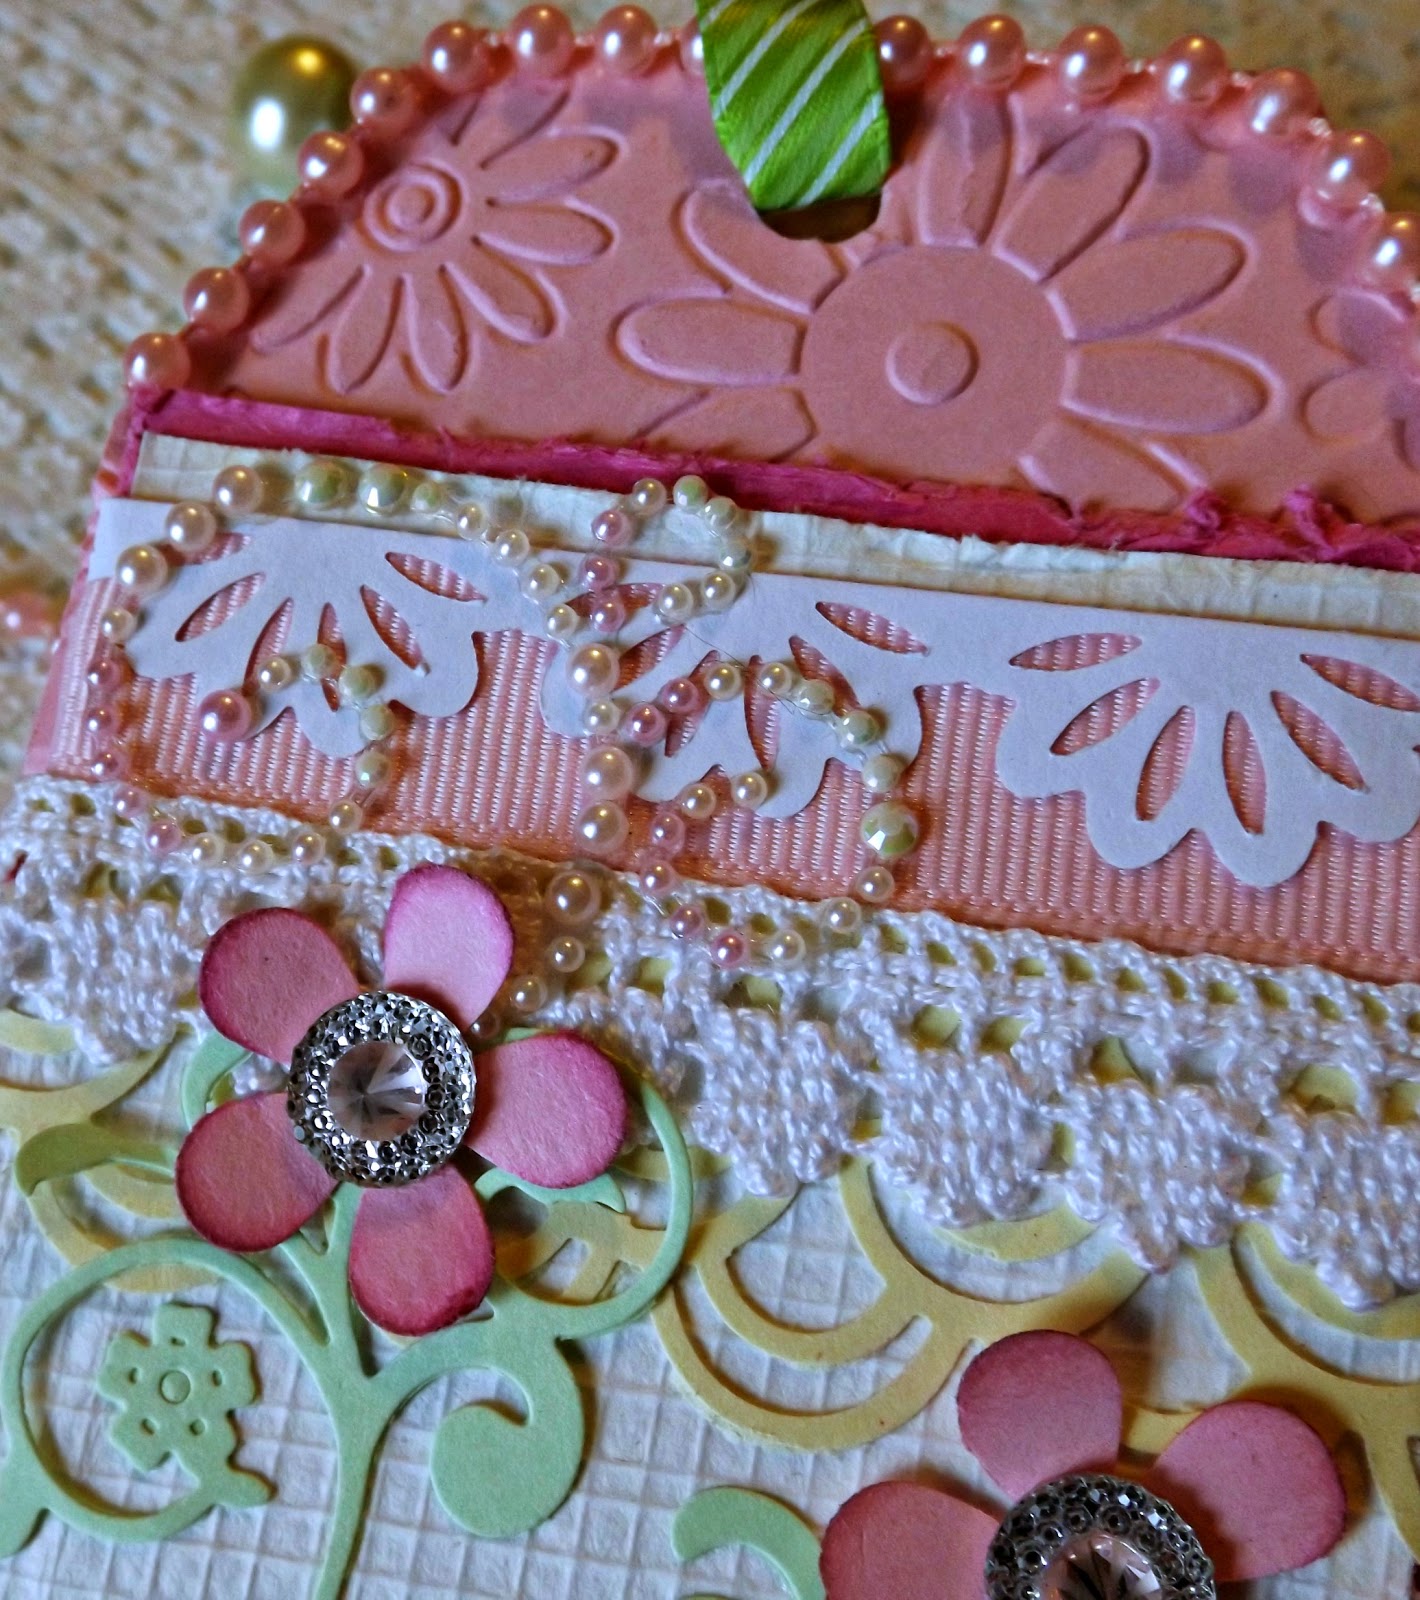
I decided to fray the edges to give my tag a softer look.

I glued a small flower on a light colored wooden bead that I slipped my ribbon into. The bead slides up and down for the opening size that I need.

What I used -
    1. Premium Cardstock by Core'dinations
    2. Spellbinders Shapeabilities Die D-Lites - Fantastic Flourish One
    3. Martha Stewart Crafts Punch Around the Page - Double Arches
    4. Fiskars Border Punch - Double Bubble
    5. ek Success Flower Punch
    6. Recollection Mini Daisy Punch
    7. ek Success Slim Edger Paper Punch


      Happy Crafting!

      Copyright © 2014 Angela Conklin - Heartedly Handcrafted
      All Rights Reserved

      Sunday, April 27, 2014

      Inkle Weaving

      Hello Everyone! 
      I'm back from a weekend vacation where I spent quite a bit of time crafting with friends. This day of crafting was a bit different than the average day of crafting for many people, as it was done while wearing medieval garb. Fun!
      I had done Tablet or Card Weaving in the past, but this was the first time I had experienced Inkle Weaving. Both can be done on this particular loom. I found it to be much easier than tablet weaving as a basic inkle pattern repeats every other row and therefore is easier to keep track of where you are in the pattern, whereas the Tablet weaving I've done can be a multitude of combinations of which direction to turn cards and how many turns. 

      This is the early stages of the project I worked on this weekend. The finished piece is below, but first a bit about what Inkle Weaving is and the stages I took to do it. 

      "This type of weaving has been around for centuries. In early times, these narrow strips were used as belts, headbands, bag handles, or straps to tie and support things. When sewn together, the strips could be turned into bags for gathering and carrying. These strips were also used aesthetically to decorate clothing. An inkle-woven strip has even survived from the first century AD. The actual origin of the style of weaving referred to as "inkle weaving" seems to have originated in many areas of the world, wherever textile arts have developed. For many centuries, this type of weaving was done on looms such as the bow loom, the forked-branch loom, or the back-strap loom.
      For those familiar with Tablet (or Card) Weaving, inkle weaving is similar to producing a tablet-woven band using just two holes in opposite corners of the card and rotating in such a manner: one-half-turn forward, one-half-turn backward, repeat."

      Pulled from http://www.degarmo.net/inkle/notes/history.html where you can find much more information about Inkle Weaving and define the words being used.

      This is the grid I used to plan my design. I used a pen and colored pencil. The black tick-marks on each one is what I did to keep track as I warped each string.


      The first thing I had to do was make the heddle (the white strings). I placed a heddle on every other string that I warped.

      The picture above shows that all the warped strings flow in a pattern with black at the borders and a little toward the center. Every time I had a changed of color I would have to tie the previous and new color together. For this particular pattern there was a lot of tying.


      To make the design I fed a shuttle though the thread and changed the position of strings before each pass.


      At a point where I ran out of room, the finished part is pulled and fed underneath and exposes a new area to work on. Eventually this process will move the first piece that was finished on top and you are done when you've reached it.


      I ended up with 8 feet of strap that I can use to make anything from belts and purse straps to blankets and rugs if I choose to make more and attach/sew them together.


      I love the details in this particular pattern. Definitely worth the time of designing it on a piece of paper first.


      Happy Crafting!


      Copyright © 2014 Angela Conklin - Heartedly Handcrafted
      All Rights Reserved

      Tuesday, April 22, 2014

      Embossed Greeting Card

      Good evening everyone!

      Have another card to share today.

      I made this one as well from craft card-stock in light pink and light teal. I used a Darice Embossing folder and then colored the image to accent the design in Victorian Velvet and Peacock Feathers, Tim holtzDistress Inks and added a little bit of Gold colored ink by ColorBox.

      For the teal colored design under the pink ribbon I used a Martha Stewart border punch and punched both sides of an inch wide strip of paper.


      I stamped an image of a butterfly on white card-stock then cut it out. Afterward I colored parts of the design with a pencil, added Glossy Accents and then sprinkled some glitter on them before the Glossy Accents completely dried. I also added antennas for the butterfly by cutting some strands of a wedding flower spray.

      Happy Crafting!

      Copyright © 2014 Angela Conklin - Heartedly Handcrafted
      All Rights Reserved

      Spring Card with Vase of Flowers

      Good afternoon everyone!

      Today I'm sharing a card with silk flowers in a vase. I recently decided to put the embossing folders back into use and I'm glad I did because the embossed butterflies really look cute with the punched butterfly.


       I left space open for a greeting between the flower and butterfly above, but I think this card looks nice without a sentiment too. I used two shades of turquoise crafting card-stock, then inked the embossed paper with Tim Holtz Distress ink in the color Peakcock Feathers to make some of the details stand out.


       I used three butterflies to make this by gluing a lighter turquoise butterfly to each wing of the darker one.

      To create a vase I pulled a small piece of paper into a cone shape and then cut off the bottom. I also applied the same distress ink as mentioned above to give it more depth and then to make it sturdy I applied glossy accents.

       The embossing folder is a large strip made by Darice.


      Happy Crafting!


      Copyright © 2014 Angela Conklin - Heartedly Handcrafted
      All Rights Reserved

      Monday, April 21, 2014

      Embossed Greeting Card with Butterflies

      Hello everyone! 
       I can't get enough butterflies. I'm on a roll, so I'm going with it.
       

       The paper that was used for this project was black, white and light pink craft card-stock.

       To embellish I used a tattered silk flower, thin strip of silk ribbon, Martha Stewart Butterfly Punch, a Cricut Cuttlebug embossing folder to form the little bumps/dots, an ek success border punch and some flat-backed pearls and gems.

      I used glue for the embellishments so they would stick better on the bumpy surface.


      Happy Crafting!


      Copyright © 2014 Angela Conklin - Heartedly Handcrafted
      All Rights Reserved

      Sunday, April 20, 2014

      Butterfly Greeting Cards with Out-takes

      Happy Easter!

      It's a beautiful day here is western Pennsylvania. I got the chance to go outside and take some pictures of two cards I was so excited to make with my new butterfly punch. I decided to do one in pink and the other in turquoise since these beautiful colors seem fitting for the day. The only problem I had was the wind blowing which I'll share a couple of those photos as well. I hadn't thought about the wind until I was out there trying to get good photos and discovered quickly what can go wrong. The experience was both frustrating and funny. I had a good laugh once I was done and began looking at my photos.

      One card is slightly larger than the other because I decided to add more paper behind the turquoise one for interest.


      Now for the out-takes! This is what happens when it's windy outside.

      I had my son helping me hold them up until I could get the shot. I took the photo without warning him quickly enough. Oops.

       So much for using glue bottles to keep them standing.

      Darn it! In my rush to get the photo before the card blew over I didn't get my head out of the way.

      Darn it again! My camera was too close and then the background blew backward just as I took the shot. Gotta love a challenge!

      In the end I was grateful to have a few good photos :)

      Happy Crafting!

      Copyright © 2014 Angela Conklin - Heartedly Handcrafted
      All Rights Reserved


       #outtakes

      Wednesday, April 16, 2014

      How to Make Your Google+ Profile Show Large, Whole Photos


      Hello everyone!

           I've been looking at a lot of Google+ profiles over the past couple of weeks and noticed that some profiles have large, full photos. I think full photos are a neccessity in #socialmedia where everything we do is visual. So my goal was to figure out why I didn't.

          Many blog photos shown on Google+ profiles only show half of the greeting card, furniture piece, artwork, whatever you've shared. The only way for people to see the rest of the photo is to click on it and be taken to the your blog. Now I suppose this could be a way of getting people to visit, but it doesn't work with me. As I'm scanning to see what I may be interested in, I'm drawn to the large photos that show the entire project which means I'm skipping over A LOT. Seeing the plain upper portion of a greeting card isn't very interesting. Having tiny photos to try and make out what I'm looking at is not very interesting either and is actually kind of a pain. I also noticed that articles without some sort of image to jump out at me don't get my attention either. Hence the photo I made for the title of this article. 

          Today I traveled around Google+ to see what posts caught my attention the most. I was also trying to be aware of what I skipped over, making sure to click on a photo that I would normally pass by. One of the partial photos that I chose to check out turned out to be a beautiful furniture piece that I would have missed on the average day. Now this isn't the case with every photo that is cut in half as sometimes it can still peak my interest, but in most cases I keep scrolling. Here is an example of one of my own. Notice that it doesn't show very much of the actual card and when your looking at dozens at a time, your more likely to move on to one you can see.


           I also clicked on an article that I was going to pass by. There was no image or anything to grab me. Just a black and white title with a bunch of typing below it. The article was very interesting and I'm glad I clicked on it, but I wouldn't normally.

           So it hit me that I've been doing it all wrong.
      I had no idea how to post full images on Google+. After some thought I went back to look at more profiles until I came to one with large whole/full photos. Wow! It is so simple! Once I posted something new on my blog, all I had to do was go to my Google+ and share it there too. I deleted the one that is automatically shared from my blog because I didn't want my profile to look redundant, but you can keep that one up too if you think it will double your chances of someone clicking. 

      Below I've shared how to get those full size images on Google+ 
      I clicked on the box that states, "Share what's new".


      Next I chose to upload the picture I wanted to show from my blog.


      Once I had my photo in place I wrote a little about what I was sharing in the comment section at the top of my post (above). Then I went to my blog where I could copy the link (below).


      Once I had the link copied I was ready to paste it in the comment section of my Google+ post. 


      After the link was pasted all I had to do was click share. It was that simple. I think the photos below are a lot nicer than the half of a greeting card I showed earlier.


      Hope this helps anyone interested in improving the look of your profile. If you have any questions, please feel free to ask in the comments below.

       Happy Crafting!

      Copyright © 2014 Angela Conklin - Heartedly Handcrafted
      All Rights Reserved

      Refurbishing an Old Travel Trailer


      Hello everyone! Something a bit different to share today.

      A trailer makeover to look more like a wood house with old style shutters, paint to look like wood planks and a door with a touch of medieval style. We currently own two travel trailers and our modern one is just way to big and fancy for some of things we need a trailer for. At 40' from end to end, it's just not practical to be pulling around either. The first one we bought was falling apart and we bought it because it was so inexpensive which left us room (monetarily) to redo it. The rebuild was a long process since we only worked on it during the weekends, but as a summer project it was exciting to do. My husband covered the roof with hard plastic sheets, but this spring it's going to get a peeked roof to finish off the look.


      My husband was the only one brave enough to get up there. I made it to the edge once and that was enough for me.


      My teenage daughter primed the outside with a pinkish-tan outdoor primer to give me a good canvas to add the dark brown paint too. She worked so hard and just about finished it in one day.


      I used a brush to apply the dark brown paint and then used a wood graining tool to get the look of wood. Then for the final touch I used a dry brush and paint comb to make more lines in hard to reach spots such as the recessed areas of the siding.


      We added a window to the back so we could get a nice breeze in our sleeping area.


      Once finished with the wood-look siding it was time to tackle the door. I saw a gorgeous wood door advertised in a Lowes add and decided to try and get a similar look using thin, lightweight wood planks and then staining them. We screwed as well as glued the planks to the door. We also added wood shutters to the windows with large iron-look hinges that were quite inexpensive.


      To get the specific look we wanted I found floor glides that are really inexpensive to look like huge nails. They have an adhesive backing to stick to furniture legs, but we added a strong glue to keep them on. My husband used a few wrought iron railing pieces to give the window a more interesting look. He had never done anything like this before. I was impressed! 


      We also completely redid the inside, painted all the white on the outside black, added shutters on all the windows and as I mentioned earlier will be putting a peeked roof on it to finish the look. I will be sharing the updates as we get them done and photos of the inside.

      Update: These were the photos taken as we began to tackle the inside. We tore just about everything out.


      Then we put in new wood supports and used lightweight Luan for the ceilings and walls.


      A new window area was cut into the back and a shutter added on the outside.


      New benches, new cushions and vinyl flooring for easy cleanup.

      We didn't finish painting the cabinets at this point, but put them back together to use when we were pinched for time.

      I spray painted the portion of the wall over the bench area

      We built a bed for our daughter, but didn't take it the entire way to the wall so she would have a place to store her suitcase etc. The area above now holds wicker storage baskets, but can also be used as a bed. This photo shows the very beginning stages. The bed and shelf are now painted and trimmed in decorative wood as well as the walls where the luan comes together.

      This summer I will have the photos of the trailer with it's slightly peaked roof and finished inside.


      Let me know what you think in the comment section below :)

      Happy crafting, creating, refurbishing and decorating this Spring!
      #traveltrailer #refurbishinganoldtraveltrailer


      Copyright © 2011 Angela Conklin - Heartedly Handcrafted
      All Rights Reserved