Showing posts with label Tim Holtz Distress ink. Show all posts

Sunday, November 16, 2014

Handmade Greeting Card - Pine Branch Icy Winter

Hello everyone!
 
I think the greeting card I made today is one of my favorites. Now I'm getting to the point of having to decide who gets what Christmas card and honestly that's the hardest part for me. I want to send everyone the best one :)   
 
For today's card I used the DCWV Winter Solstice Stack. I love this paper stack and this particular paper with its silvery snowflakes on an icy blue background is gorgeous.
 
To start my card I cut from my patterned blue paper a 6x6 inch piece and 4x4 inch piece. 
 
I did the same cuts (6x6 inch and 4x4 inch) from white cardstock. Then I used a corner and border punch set to make my lacy paper. 
 
If you don't know how to do this I've included a tutorial video from YouTube here that I learned the technique from.
 
Once I had all four pieces of paper (2 blue, 2 white) I adhered them together using blue as the base for each.
To make my sentiment I used Picmonkey to design it and then printed it out and made the circular cut with a round die. 
I decided I didn't just want a circle so I cut a lacy circle to place behind it.

I used glitter on the lacy circle to make it stand out from the background.
 
I used an Impression Obsessions die to make the pine branches and then colored the branches with ink.
 
To give the appearance of snow I used white puffy paint and glitter.  
NOTE: I ran into a problem and had to start over again. My green ink bled into the white puffy paint. So to keep this from happening I used a clear embossing powder over the ink to seal it and then applied the paint and the glitter. This worked perfectly.
 
After the branches were dry I attached them to my card with hot glue.
 

I then added a bow and when my card front was finished I added white cardstock for the base of the card and that was it :)
 
I would love to see your results if you decide to make one!
 
  Supplies


Happy crafting and thanks for stopping by!

Tuesday, April 22, 2014

Embossed Greeting Card

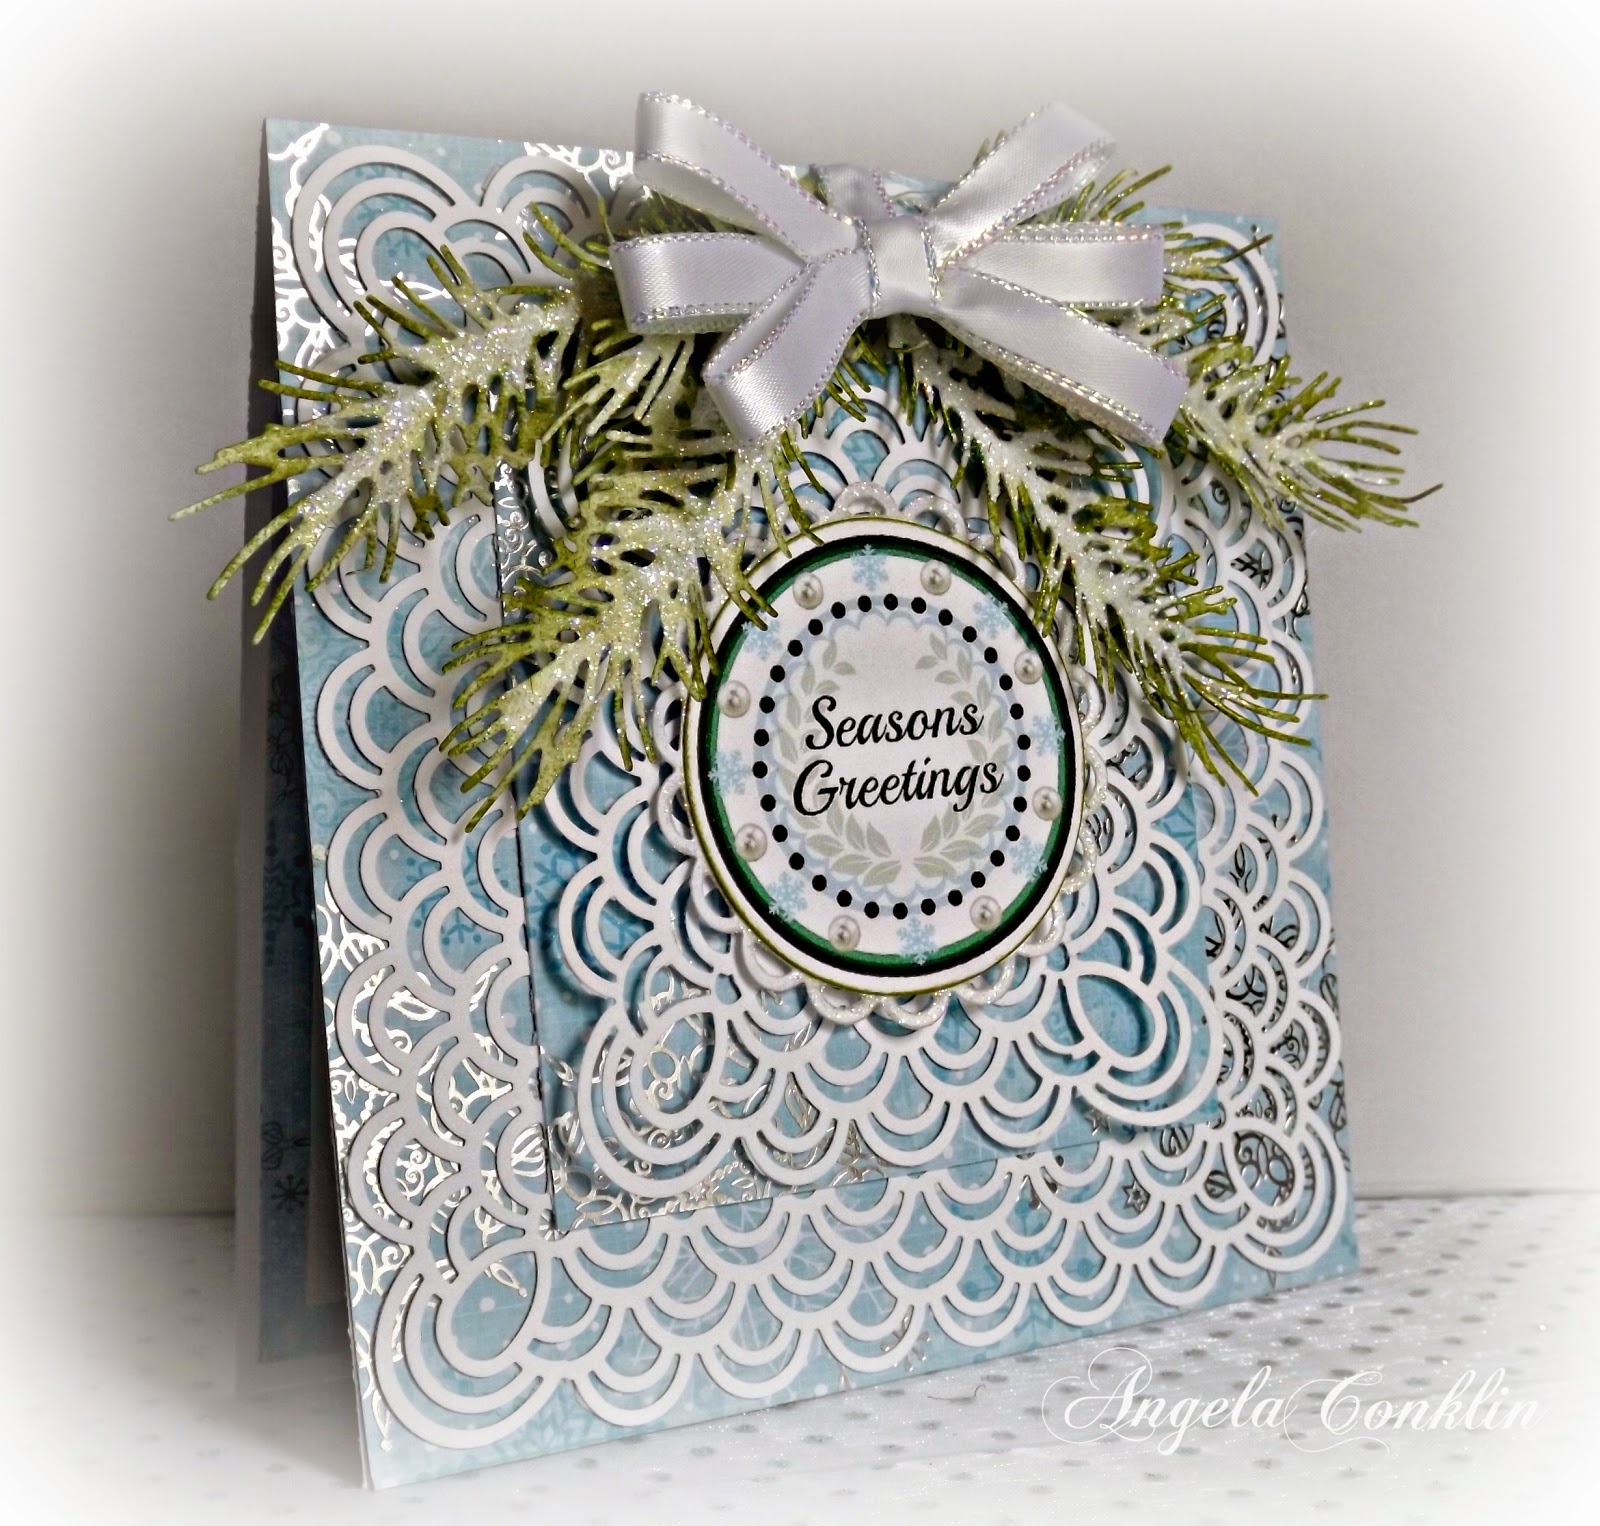
Good evening everyone!

Have another card to share today.

I made this one as well from craft card-stock in light pink and light teal. I used a Darice Embossing folder and then colored the image to accent the design in Victorian Velvet and Peacock Feathers, Tim holtzDistress Inks and added a little bit of Gold colored ink by ColorBox.

For the teal colored design under the pink ribbon I used a Martha Stewart border punch and punched both sides of an inch wide strip of paper.


I stamped an image of a butterfly on white card-stock then cut it out. Afterward I colored parts of the design with a pencil, added Glossy Accents and then sprinkled some glitter on them before the Glossy Accents completely dried. I also added antennas for the butterfly by cutting some strands of a wedding flower spray.

Happy Crafting!

Copyright © 2014 Angela Conklin - Heartedly Handcrafted
All Rights Reserved