Showing posts with label DCWV craft. Show all posts

Sunday, November 16, 2014

Handmade Greeting Card - Pine Branch Icy Winter

Hello everyone!
 
I think the greeting card I made today is one of my favorites. Now I'm getting to the point of having to decide who gets what Christmas card and honestly that's the hardest part for me. I want to send everyone the best one :)   
 
For today's card I used the DCWV Winter Solstice Stack. I love this paper stack and this particular paper with its silvery snowflakes on an icy blue background is gorgeous.
 
To start my card I cut from my patterned blue paper a 6x6 inch piece and 4x4 inch piece. 
 
I did the same cuts (6x6 inch and 4x4 inch) from white cardstock. Then I used a corner and border punch set to make my lacy paper. 
 
If you don't know how to do this I've included a tutorial video from YouTube here that I learned the technique from.
 
Once I had all four pieces of paper (2 blue, 2 white) I adhered them together using blue as the base for each.
To make my sentiment I used Picmonkey to design it and then printed it out and made the circular cut with a round die. 
I decided I didn't just want a circle so I cut a lacy circle to place behind it.

I used glitter on the lacy circle to make it stand out from the background.
 
I used an Impression Obsessions die to make the pine branches and then colored the branches with ink.
 
To give the appearance of snow I used white puffy paint and glitter.  
NOTE: I ran into a problem and had to start over again. My green ink bled into the white puffy paint. So to keep this from happening I used a clear embossing powder over the ink to seal it and then applied the paint and the glitter. This worked perfectly.
 
After the branches were dry I attached them to my card with hot glue.
 

I then added a bow and when my card front was finished I added white cardstock for the base of the card and that was it :)
 
I would love to see your results if you decide to make one!
 
  Supplies


Happy crafting and thanks for stopping by!

Sunday, October 19, 2014

Shaker Easel Card with a Note: Merry Christmas

Hello crafty peeps! Hope you are enjoying your day :)
 
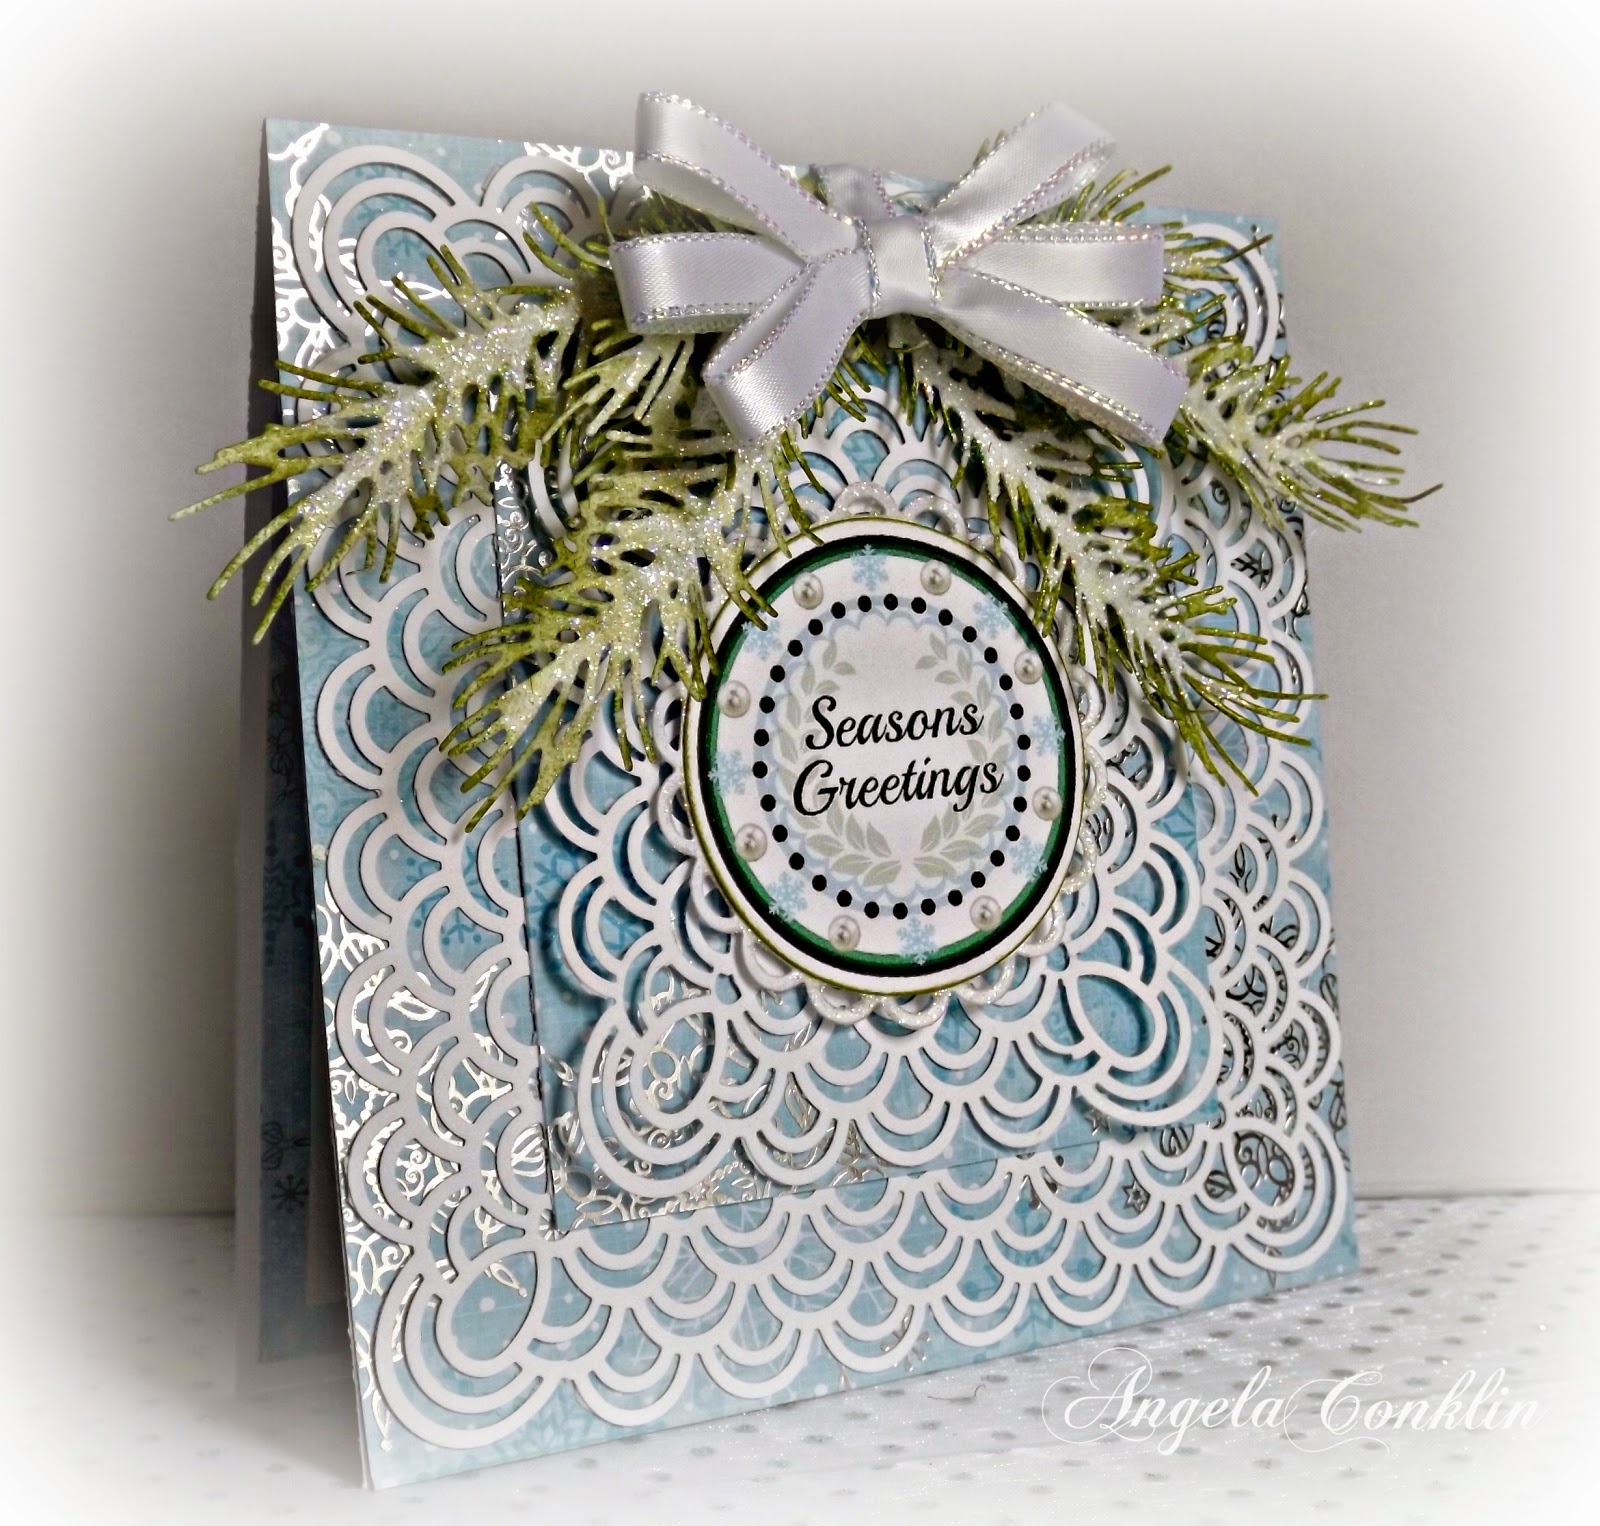
I have continued to work on getting Christmas cards done and would like to share another one with you today. Shaker cards are so adorable and I'm already a fan of the easel card so I combined them. The shaker card does not open, but there is a card for a message on the easel itself.


 A place for a message, gift card, or small photo.

I made both of my scenes digitally and then printed them out on cardstock. I added white glitter with silver flecks to give it that snowy shaker feel and to build out the back for the shaker window I used two layers of thin craft foam of which I hot glued together.
 
 I like this card so much that I sat shaking it to make snowdrifts this morning. So much fun :)

I shared a tutorial in my previous post on how to make an easel card. I didn't look/watch any tutorials to make my shaker card, but I know there are plenty on YouTube if you would like to make one and don't know how to.
 
Happy Crafting!
 post signature