It's fun to make a card, layout or any project that you can share publicly or better yet sell, but finding an image you can use freely is difficult. Many blogs that offer free graphics also have a disclaimer that the images they share could be copyrighted and it's up to the person using it to pursue with the owner of the image what he/she is free to do with it and what can not be done with it. Basically it's "I made the image available for you, but use it at your own risk". I've also seen blogs state that the images are from before the 1920s and "should" be public domain now, but there is uncertainty. These blogs are great for personal use, but they don't help crafters who sells their craft projects.
My advice, if you feel that you may sell the project that you are making, buy one from a blog that makes and then sells them with your rights for use (which are usually very cheap) or take a chance and try to make your own. I decided to add an Easter bunny to some of my cutesy Easter cards and although I cannot draw animals and I'm not experienced at using the Paint program on my computer, I gave it a shot. It took me a few tries to get it to look like a rabbit and it wasn't easy, but I figure the more I try the easier it will be.
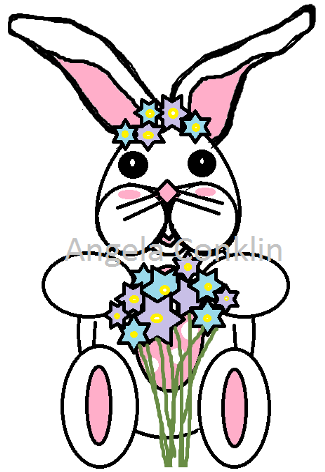
I created the rabbit below from just putting shapes together such as circles for the body, feet, arms, cheeks and eyes, a diamond for the nose, the straight line cursor for the whiskers and stars for the flowers. As you can see my ears were drawn free hand and are messy looking, but overall I have the basic rabbit I was looking for. It doesn't have to be perfect. The nice part is once you make it, it's all yours. So give it a shot, then another. Don't give up. The first few times I tried the Paint program it was like trying to create something on an Etch-a-sketch; it wasn't good. In the end I got what I needed and this rabbit looks adorable on my cards.
You can also create animals with your punches and die cut shapes. If you're better at free hand drawing then draw the picture you want, scan it and save it to pictures so you can print it out as needed. Printing it makes it look as if you stamped the image, giving it a very clean and purposeful look.
Tip: If you make a mistake drawing in Paint or have a bad section you don't want people to see and are too afraid to erase it, just cover it with flowers or something. That's what I did to disguise the pointy head of my rabbit.
If you can get the shape right, but not the details; why not make your drawing a silhouette. There is a How-To-Draw site which is where I learned to draw this dear. You begin with circles and line connections. It was a very helpful site.
www.dragoart.com
If you decide to use your Paint program, making objects that are made of squares, rectangles and straight or diagonal lines are quite easy. With a little practice you'll be making images for your crafts in no time.
Copyright © 2014 Angela Conklin - Heartedly Handcrafted
All Rights Reserved


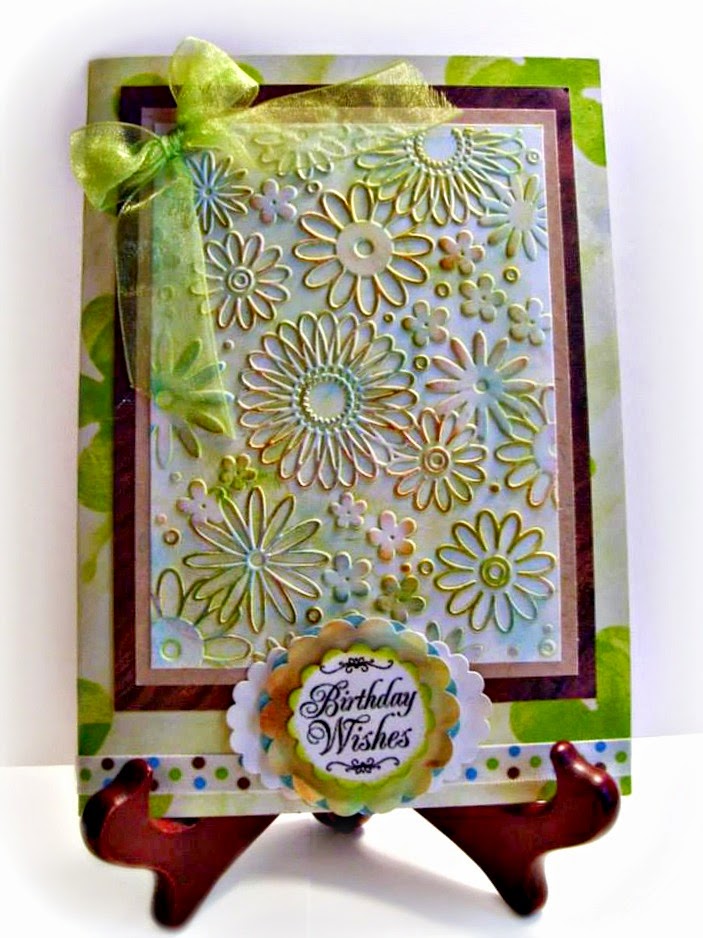


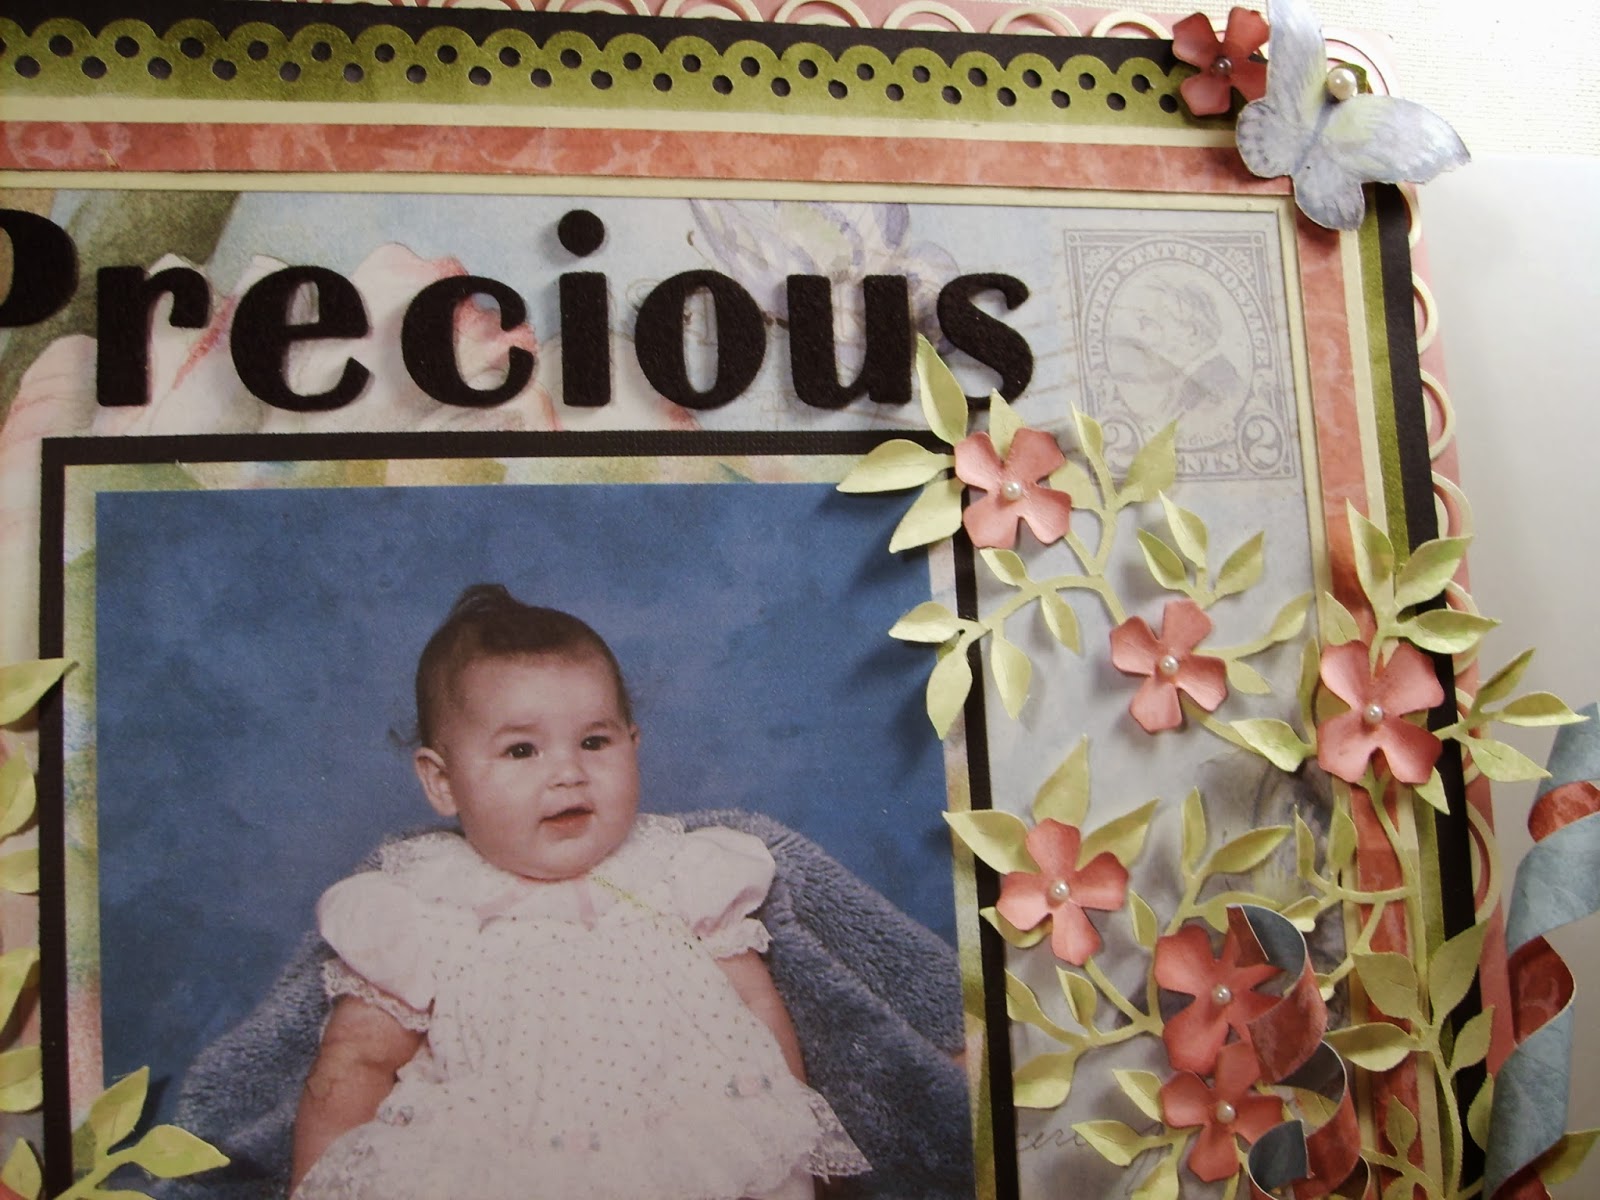
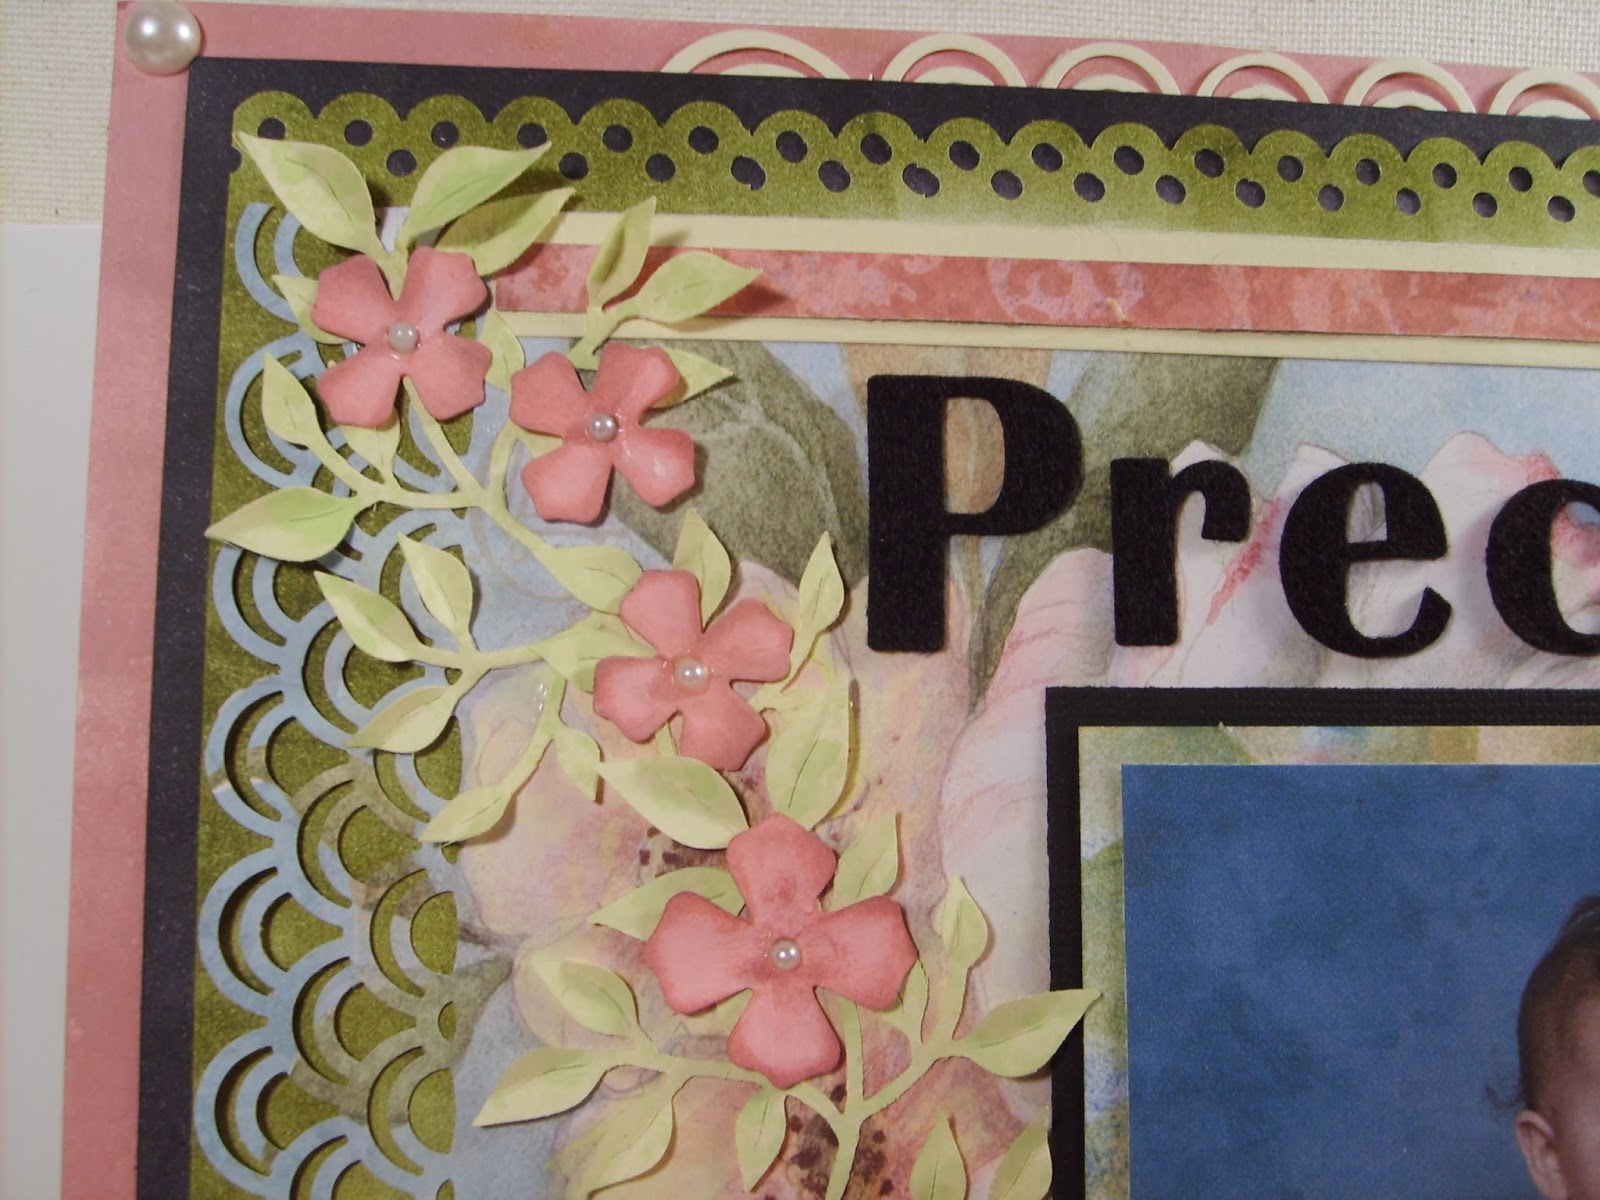
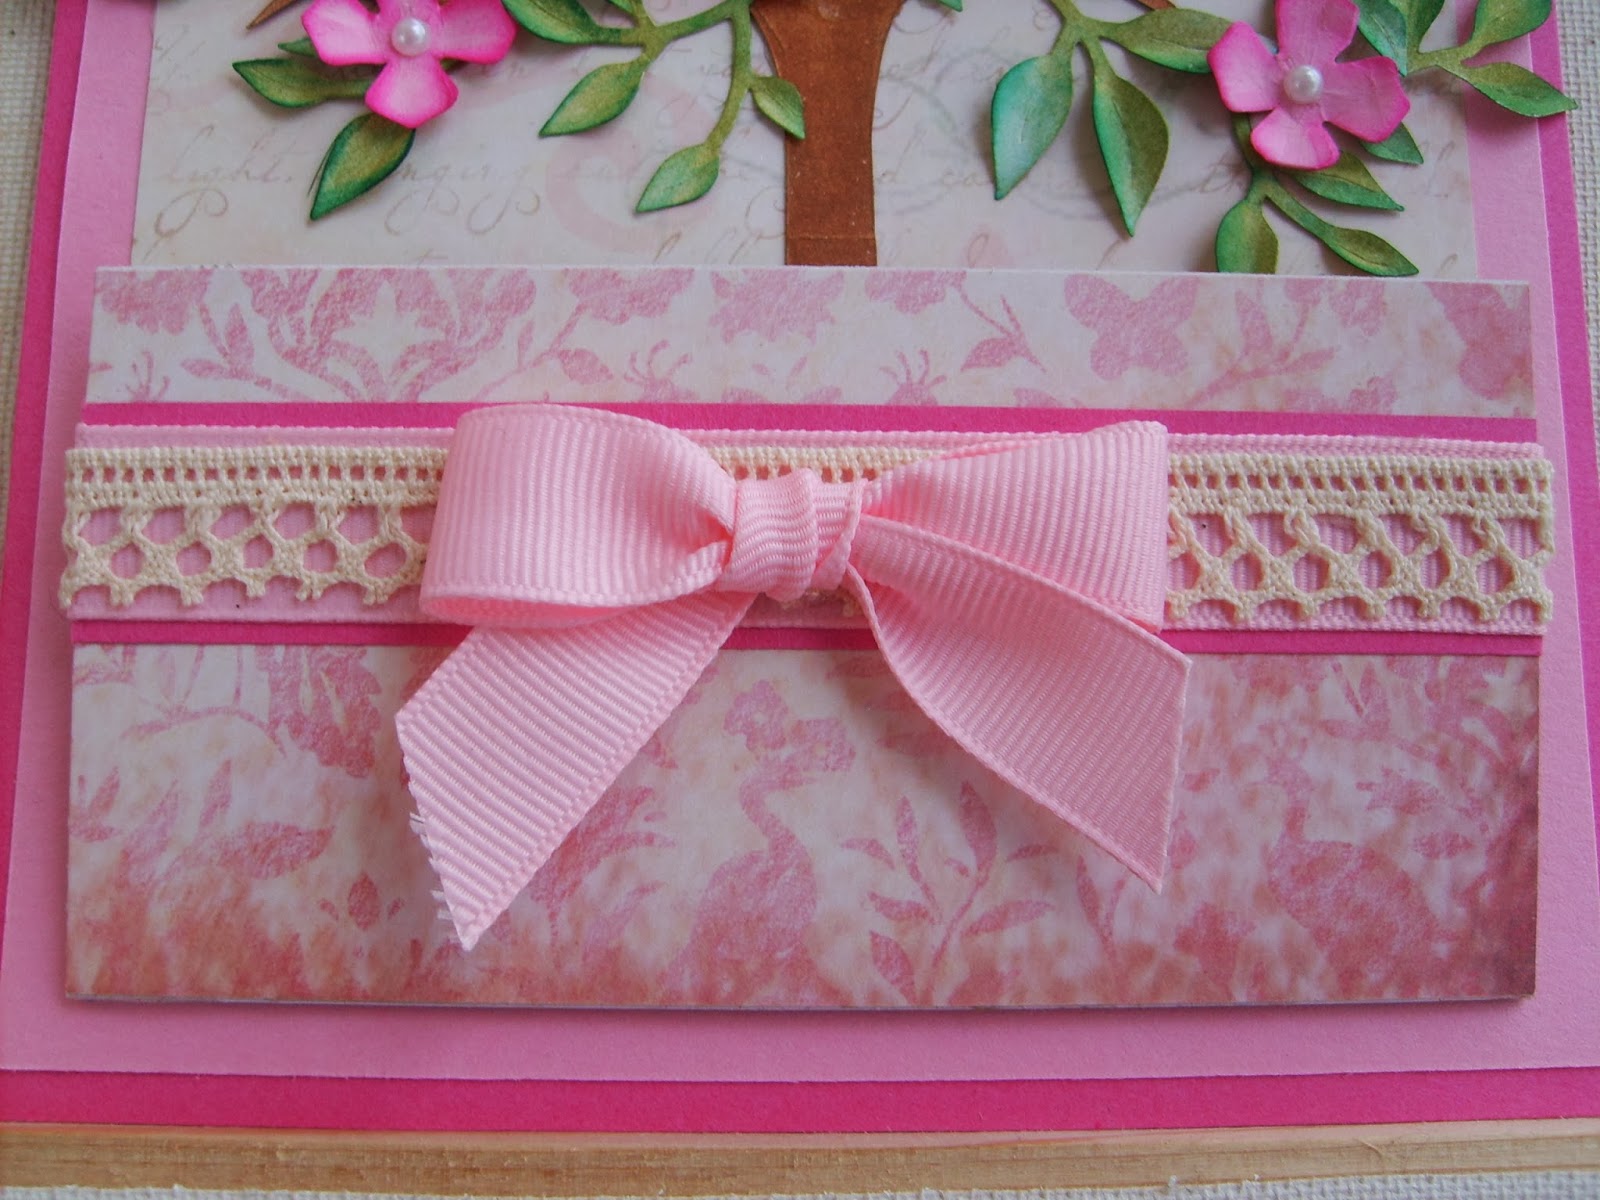
 Embellishment
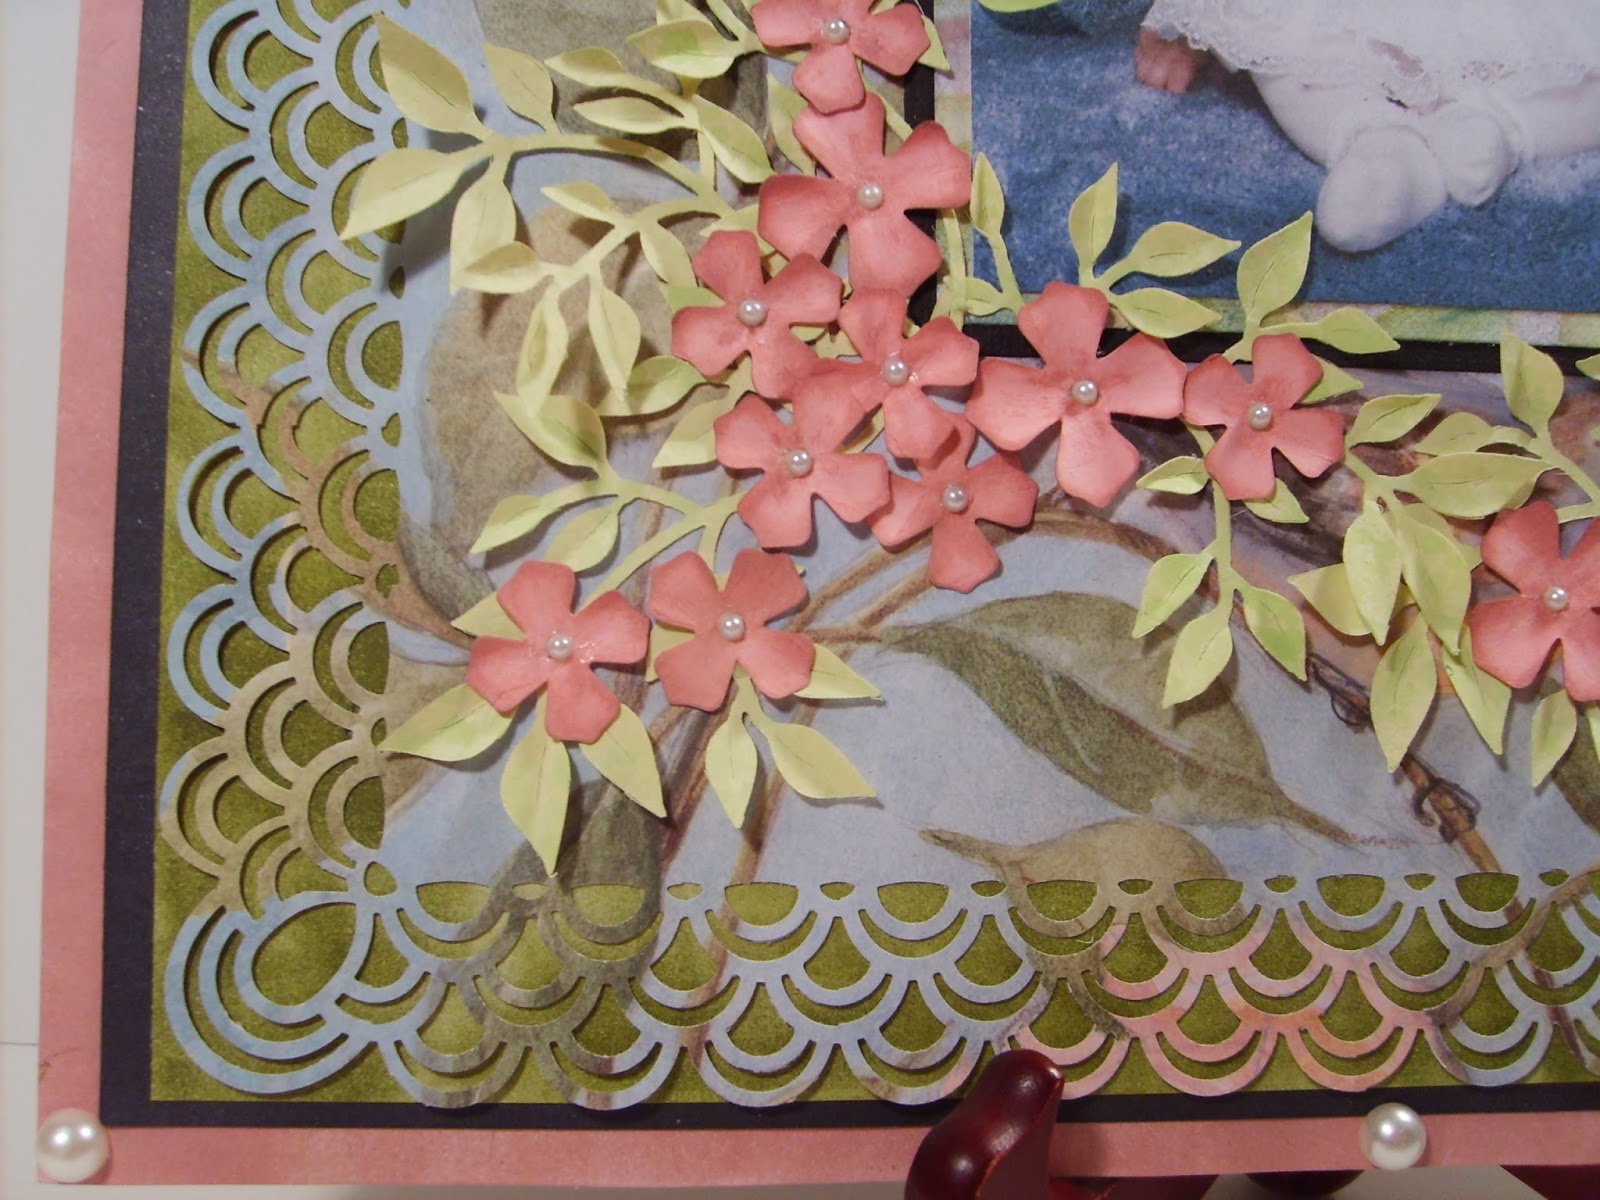
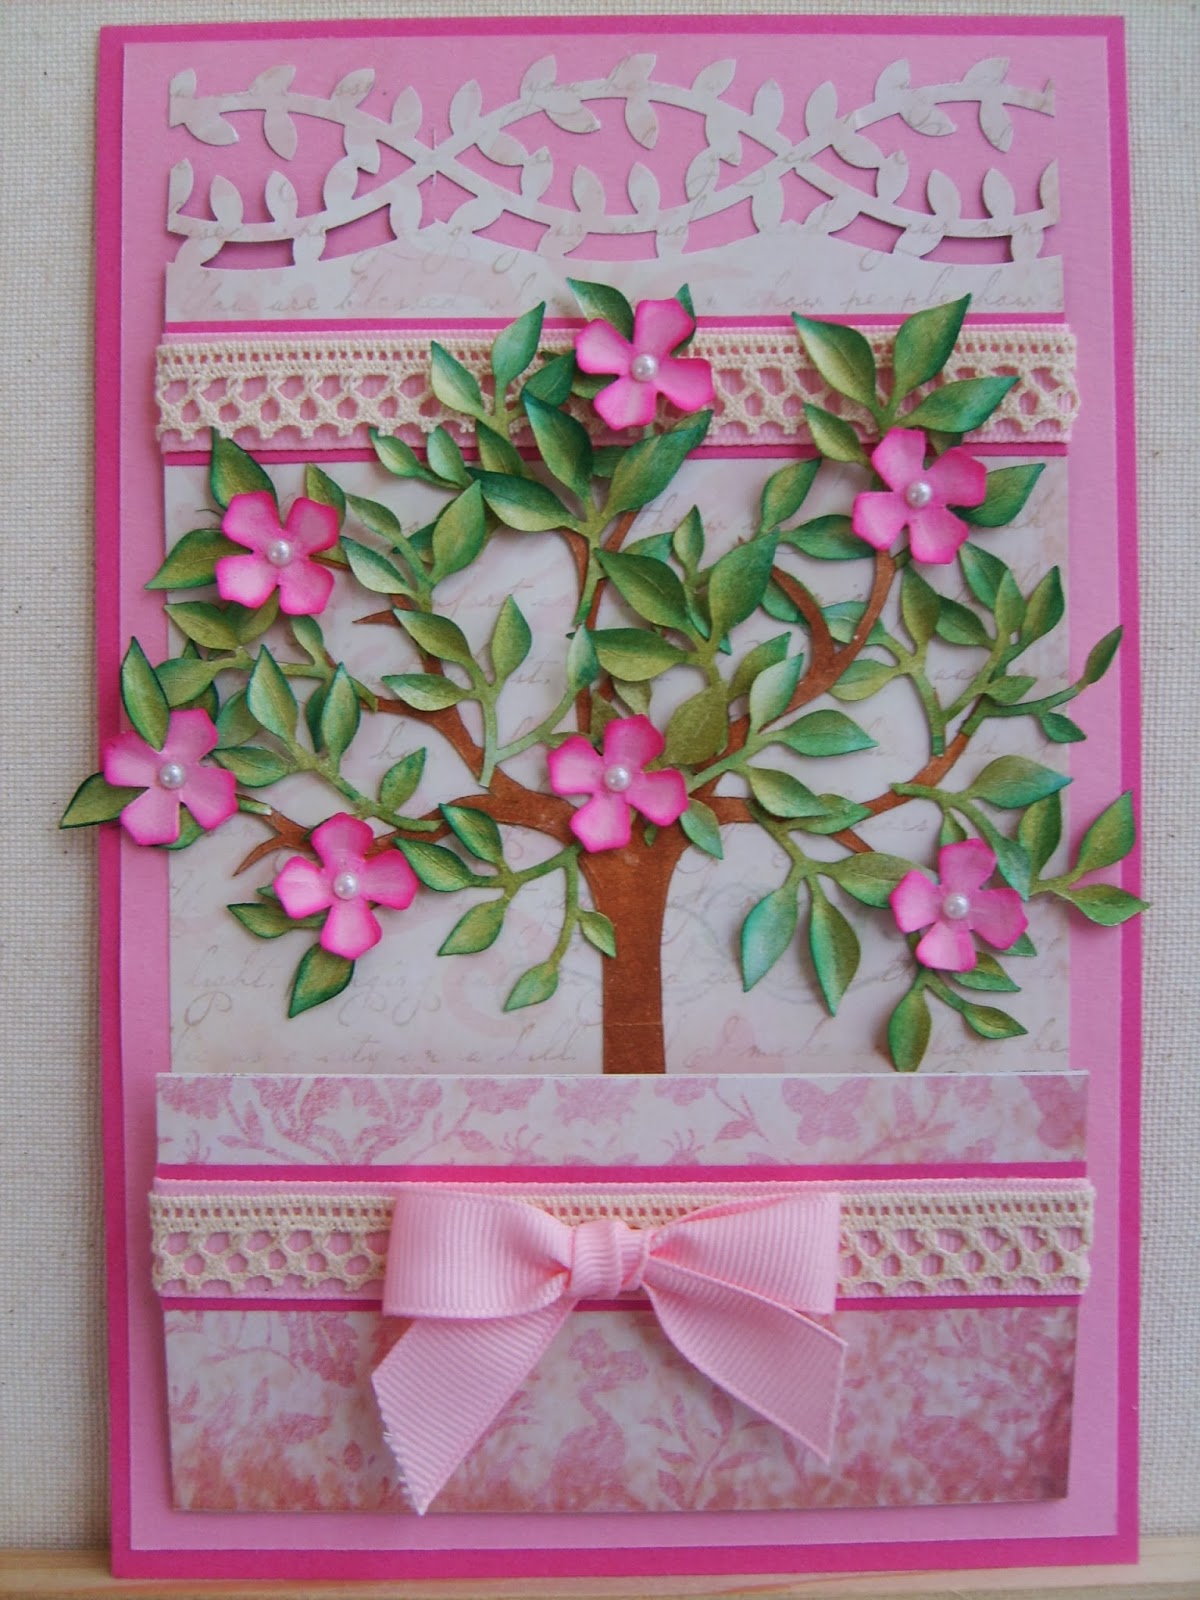
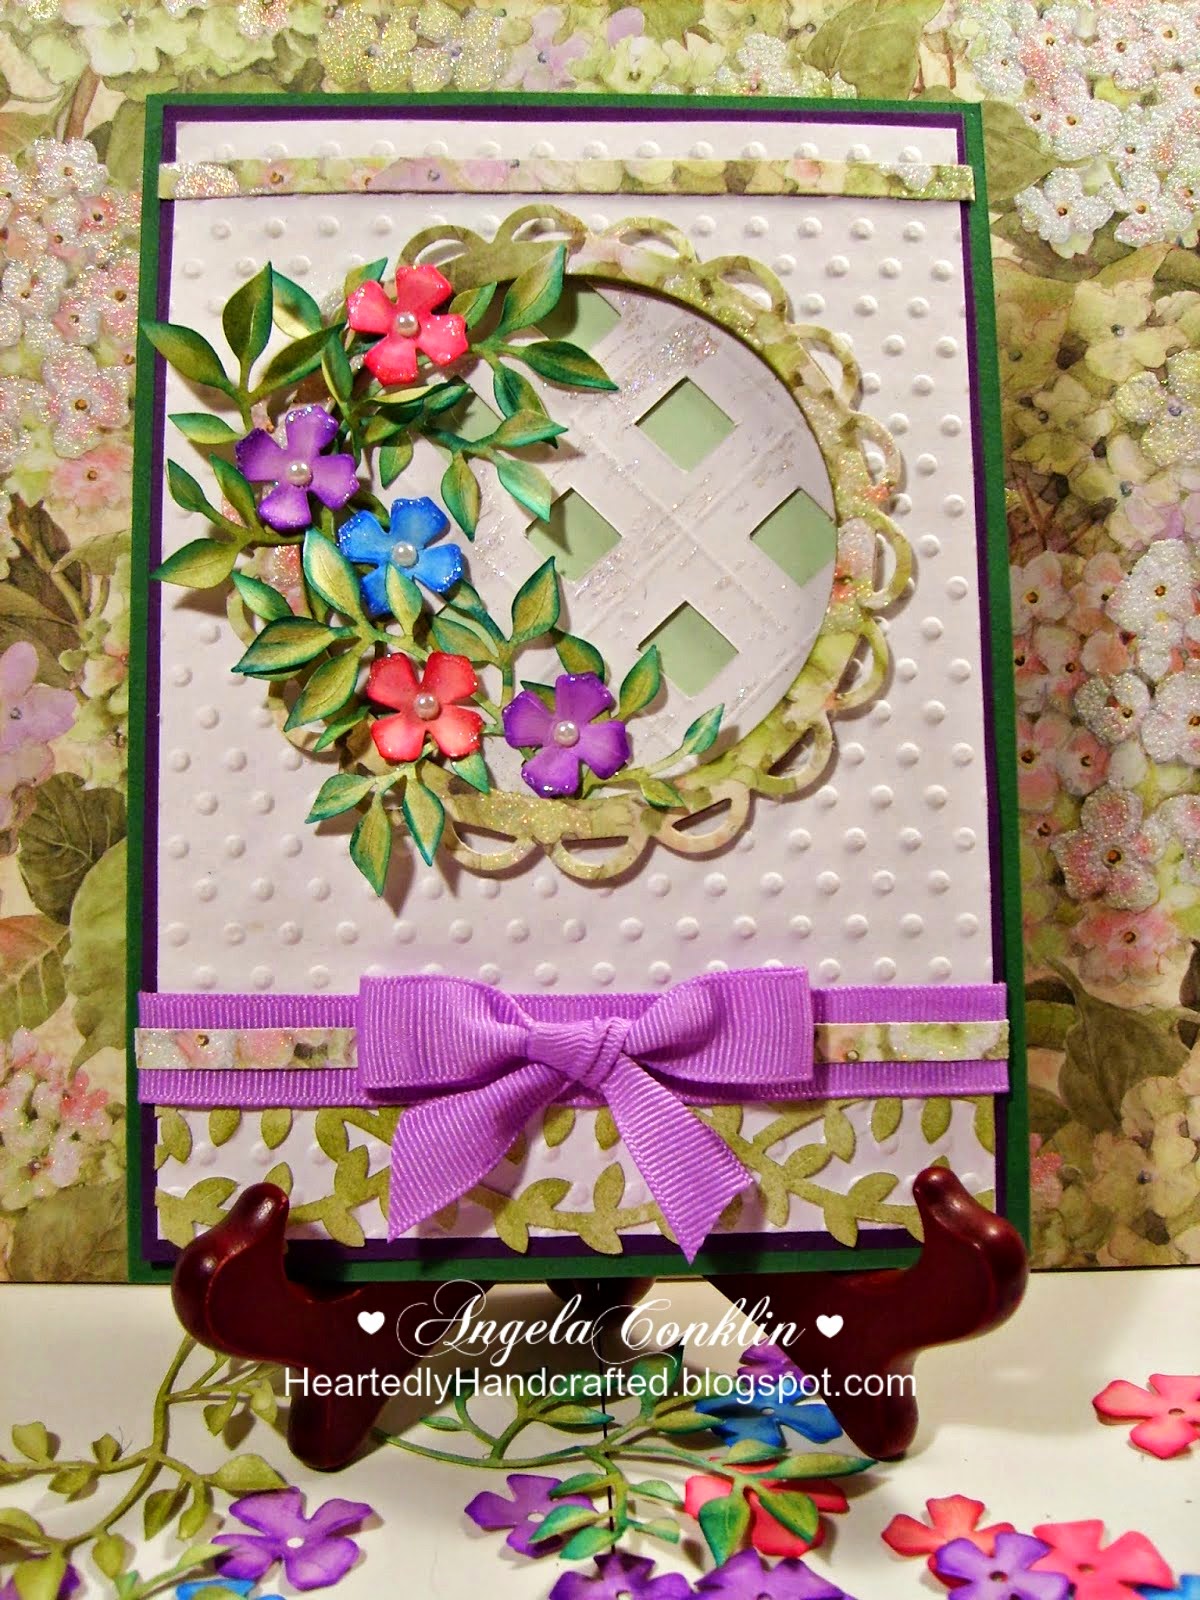
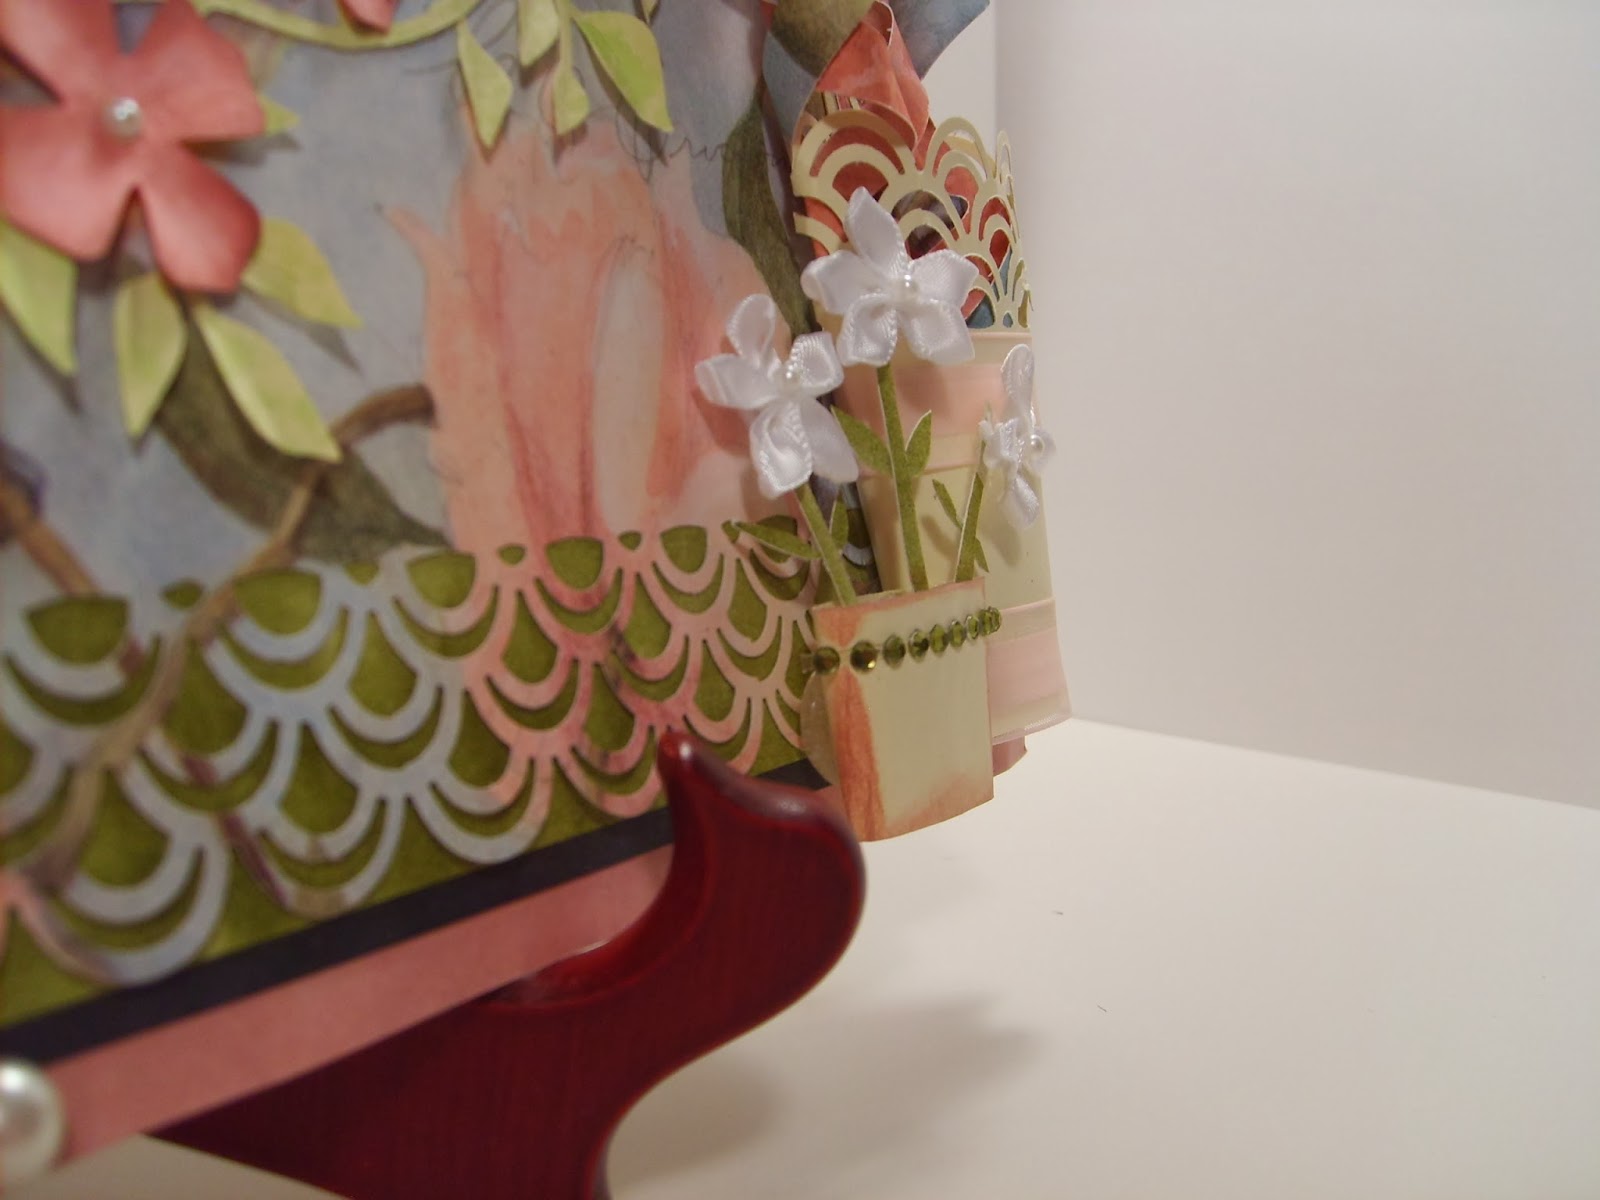