Hello everyone! Something a bit different to share today.
A trailer makeover to look more like a wood house with old style shutters, paint to look like wood planks and a door with a touch of medieval style. We currently own two travel trailers and our modern one is just way to big and fancy for some of things we need a trailer for. At 40' from end to end, it's just not practical to be pulling around either. The first one we bought was falling apart and we bought it because it was so inexpensive which left us room (monetarily) to redo it. The rebuild was a long process since we only worked on it during the weekends, but as a summer project it was exciting to do. My husband covered the roof with hard plastic sheets, but this spring it's going to get a peeked roof to finish off the look.
My husband was the only one brave enough to get up there. I made it to the edge once and that was enough for me.
My teenage daughter primed the outside with a pinkish-tan outdoor primer to give me a good canvas to add the dark brown paint too. She worked so hard and just about finished it in one day.
I used a brush to apply the dark brown paint and then used a wood graining tool to get the look of wood. Then for the final touch I used a dry brush and paint comb to make more lines in hard to reach spots such as the recessed areas of the siding.
To get the specific look we wanted I found floor glides that are really inexpensive to look like huge nails. They have an adhesive backing to stick to furniture legs, but we added a strong glue to keep them on. My husband used a few wrought iron railing pieces to give the window a more interesting look. He had never done anything like this before. I was impressed!
We also completely redid the inside, painted all the white on the outside black, added shutters on all the windows and as I mentioned earlier will be putting a peeked roof on it to finish the look. I will be sharing the updates as we get them done and photos of the inside.
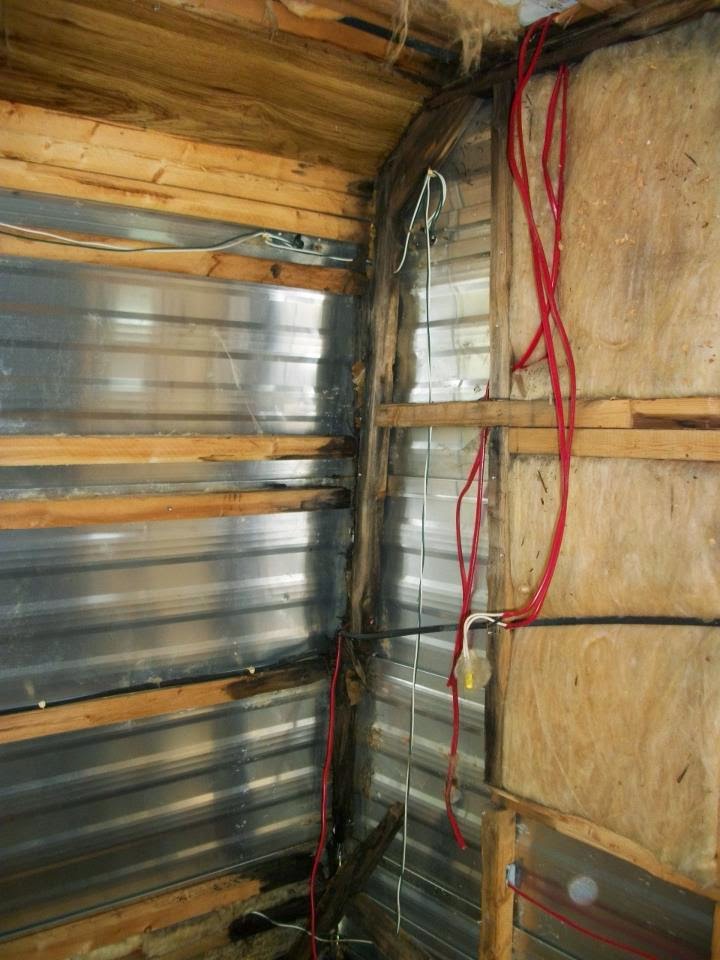
Update: These were the photos taken as we began to tackle the inside. We tore just about everything out.
Then we put in new wood supports and used lightweight Luan for the ceilings and walls.
A new window area was cut into the back and a shutter added on the outside.
New benches, new cushions and vinyl flooring for easy cleanup.
We didn't finish painting the cabinets at this point, but put them back together to use when we were pinched for time.
I spray painted the portion of the wall over the bench area
We built a bed for our daughter, but didn't take it the entire way to the wall so she would have a place to store her suitcase etc. The area above now holds wicker storage baskets, but can also be used as a bed. This photo shows the very beginning stages. The bed and shelf are now painted and trimmed in decorative wood as well as the walls where the luan comes together.
This summer I will have the photos of the trailer with it's slightly peaked roof and finished inside.
Let me know what you think in the comment section below :)
Happy crafting, creating, refurbishing and decorating this Spring!
#traveltrailer #refurbishinganoldtraveltrailer
Copyright © 2011 Angela Conklin - Heartedly Handcrafted
All Rights Reserved
Copyright © 2011 Angela Conklin - Heartedly Handcrafted
All Rights Reserved


No comments:
Post a Comment