Once the idea hit me, I thought this would be an adorable gift for a beginner, paper crafter filled with little stamps, inks, paper punches and so forth.
As I decorated the can I decided to keep it somewhat plain with a lot of blank, white space (especially on the sides and back) for the new crafter to add her own touches. I left the lid untouched as well, although I may add a white circle with a personalized note should I decide to give it as a gift or sell it.
A gift package to be filled with items that inspire creativity.


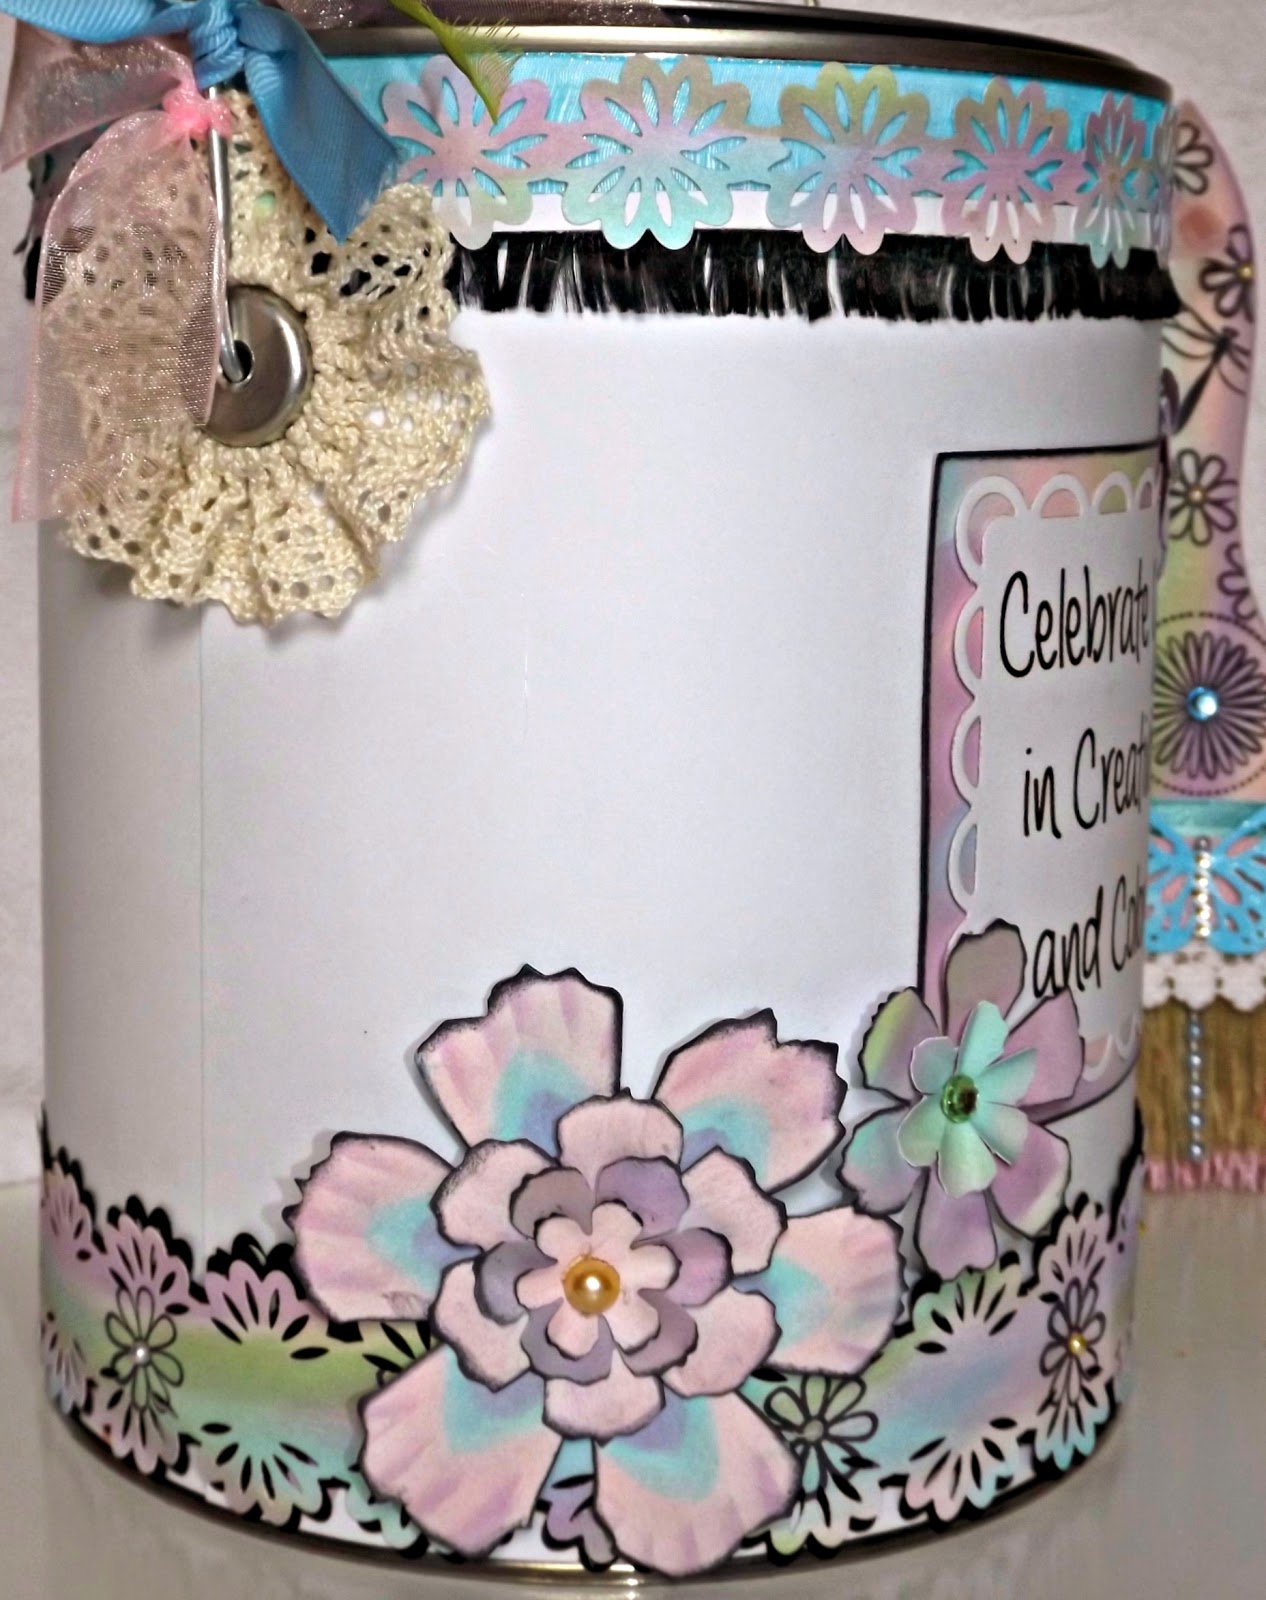


For the flowers, butterfly, and dragonfly I used clear stamps and Ranger Archival Ink in Jet Black.

Once my paint brush was finished I had an afterthought and decided to dip the bristles in pink paint. This step should be done before you decorate your brush and left to dry. Fortunately it worked out okay for me.


Honestly I had difficulty getting started with this. Trying to measure the paper correctly that wraps around the can was a real pain. Well at least until I said, "Heck with it", grabbed a couple of pieces of eight and a half inch by eleven inch cardstock and made a front panel and a back panel.
I'm not a measuring kind of gal, but I did measure from the bottom ridge of the can to the top ridge so I could use my paper cutter to get a precise cut. If you will be putting a border on your can as I did you don't have to worry about this cut being perfect either since it will be covered.
Then I held my cut paper up to the can and made a mark where the handles were located. In the end, my holes for the handle were a little too big and not round, but it didn't matter since I was going to be covering that area up with lace flowers.

The rest was easy as you can add anything you want to decorate it.


No comments:
Post a Comment