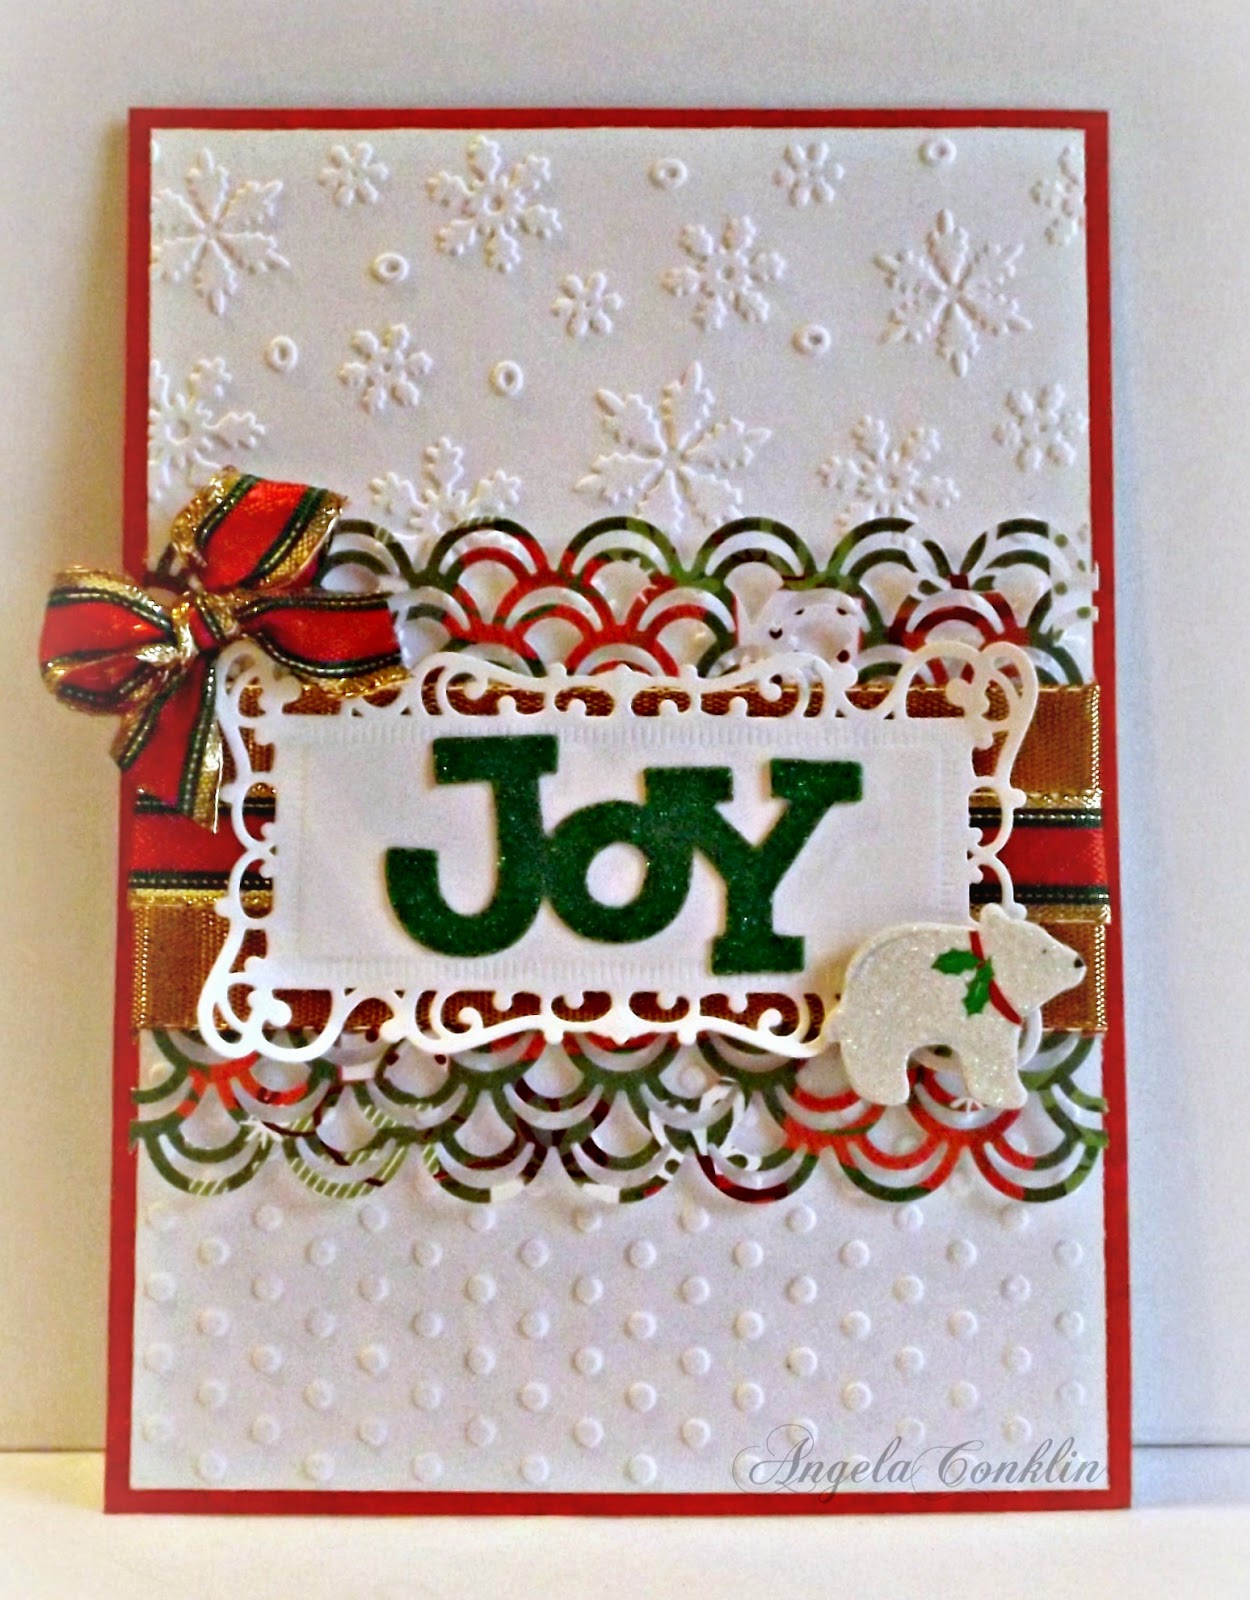
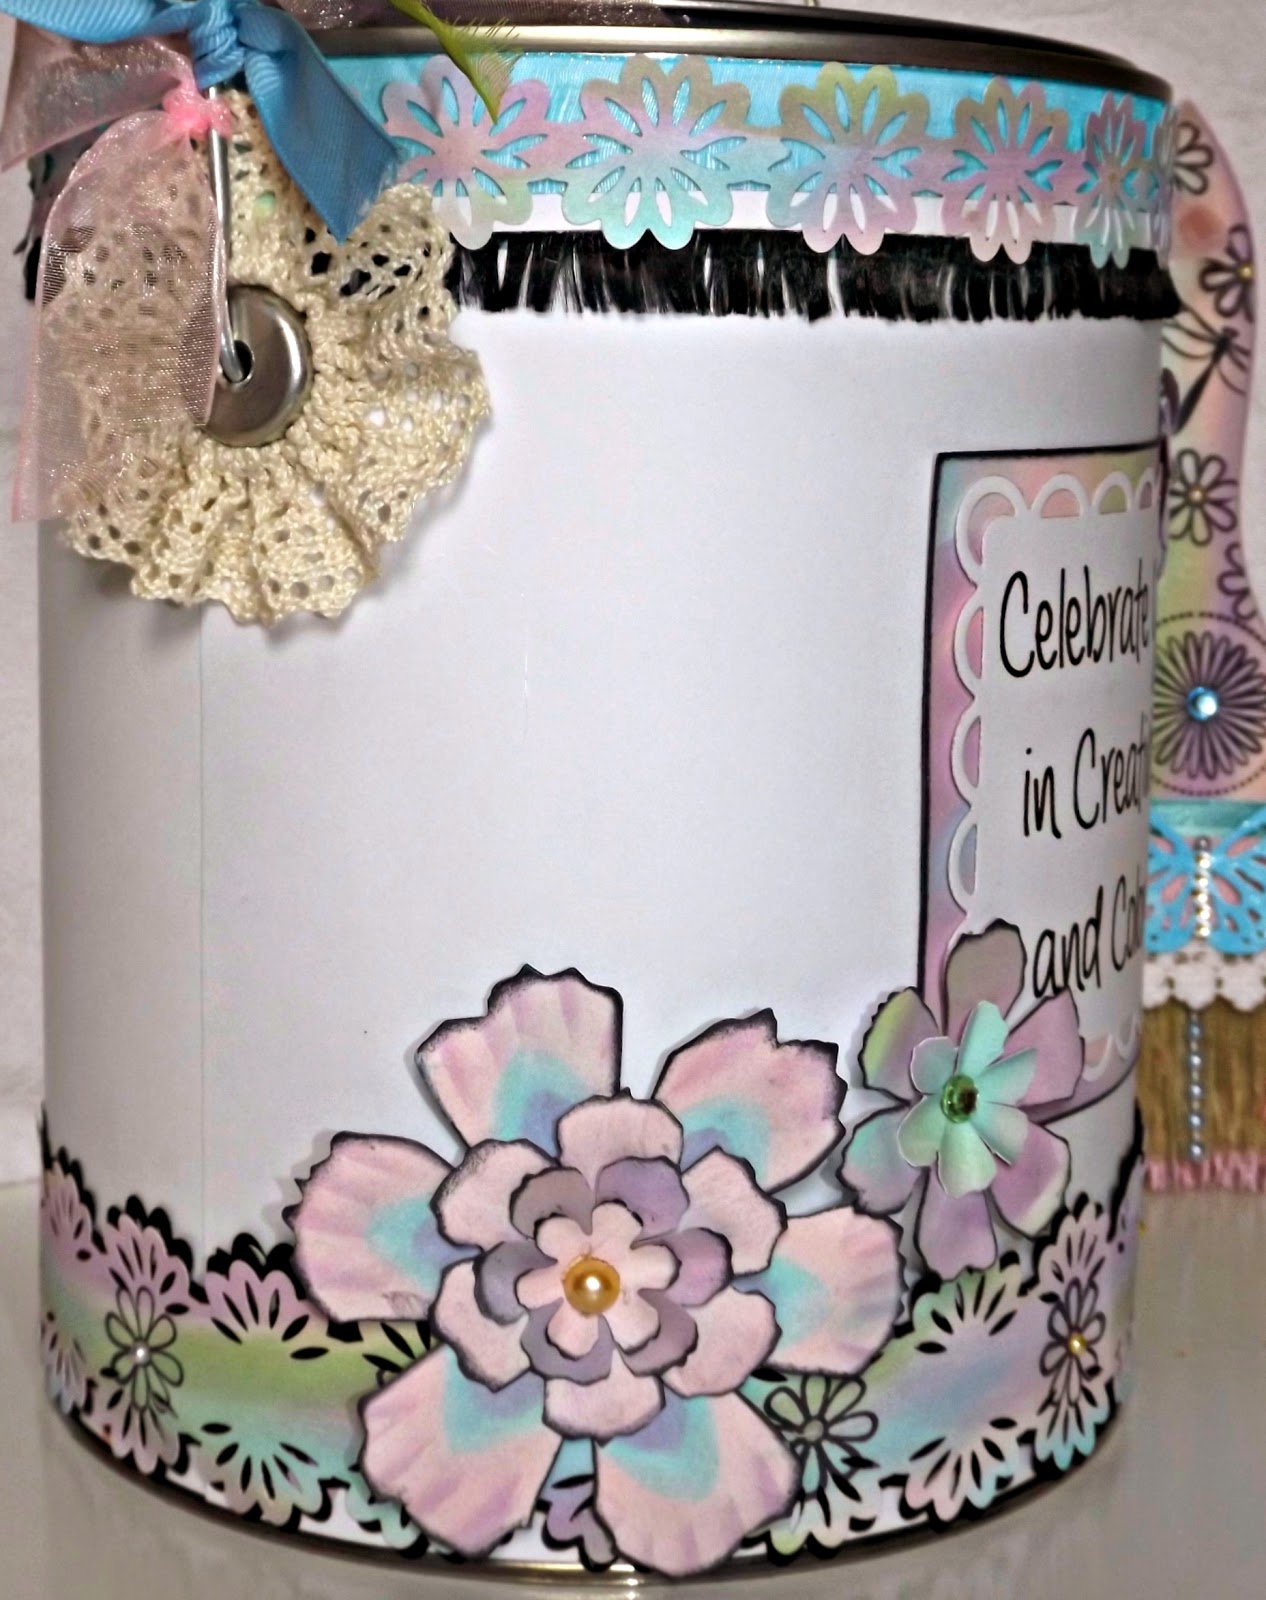
I've got two projects to share with you today. Both were done for the Sketches4ALL 5th Anniversary Challenge Party. If you're interested in an altered/repurposed challenge, I just started one over at S4All today. The challenge will run until December 31st. There are also many other fun challenges from our design team members that are going on right now and an awesome prize for the winner of the 5th Anniversary Challenge Party. So don your creative energy and come on over!
1. Measure the surface of the jar where you want the paper to cover (find the width and height) and cut your clear cardstock.
I chose to use the clear cardstock so the light from the candle would show through better than regular craft paper, but either will work.
2. Emboss your paper.
My cut piece was about 10" long which posed an issue since the embossing folder I wanted to use (Darice - Snowflake) is only 5" long. Then it hit me to just do one end of my vellum and then do the other end. Since the snowflakes of the embossing folder are randomly placed, I could do it in two steps and there is no seam or cut off point. It worked perfectly.
3. Adhere your paper to your jar
I didn't add adhesive all the way around, but instead only along the seam on the back. I chose to use a little Mod Podge, because it dries clear and won't be affected by the heat of a candle-flame like tape or hot glue would be.
I didn't add adhesive all the way around, but instead only along the seam on the back. I chose to use a little Mod Podge, because it dries clear and won't be affected by the heat of a candle-flame like tape or hot glue would be.
4. Embellish the jar.
I chose to use my pine branch die by Impression Obsessions. The pine branch gives a nice holiday touch and is intricate and pretty enough to stand on its own. I like a lot of embellishments, but for this particular project I wanted as much candle light to get through as possible and I didn't want to cover up the pretty embossed snowflakes.
I chose to use my pine branch die by Impression Obsessions. The pine branch gives a nice holiday touch and is intricate and pretty enough to stand on its own. I like a lot of embellishments, but for this particular project I wanted as much candle light to get through as possible and I didn't want to cover up the pretty embossed snowflakes.
My candle looks so beautiful lit up! In person, the clear cardstock looks just like frosted glass.
I ran into a problem
After I cut my pine branches I coated them with Tim Holtz Adirondack Silver Mixative, which was a mistake. While I was giving them shape by bending the branches around a knitting needle and fluffing the needles themselves the mixative began to flake off.
I chose the mixative because it's gorgeous and very reflective. I've loved it with other projects, but since it sits on the surface you cannot bend it without losing some of it. I decided not to concern myself, because any white showing just makes my branches look snowy, but I will be careful to stay aware when deciding whether it's the right choice for my next project.
To add more reflectivity and some sparkle I ran two rows of Darice rhinestone mesh around the bottom. I had considered placing ribbon here and it looked nice, but once I had the rhinestones in place there was no question that it was the best choice for this candle.
I also added a bow and a tag that says JOY. I got the sentiment from The Cutting Cafe.
 Find a can
 I raided my recycling bin and found a La Choy Chicken Chow Mein can. The label came off easily after I ran it under hot water for a minute or two and then rubbed it off with my fingers, but the blue tape on this particular can was another story. Fortunately it scraped off of the very top quite easily and I just left the rest because I knew it wouldn't show from under all the layers I would be placing over it.
 1. Measure the can.
Begin by measuring the circumference of the can and cutting your piece of white craft cardstock to wrap around it.
2. Emboss your paper.
I needed exactly 12" of cardstock so to make embossing easy I decided to use my 12" Cuttlebug, Polka Dot embossing folder.
3. Adhere your paper to your can.
I used tape.
4. Embellish your can
I needed exactly 12" of cardstock so to make embossing easy I decided to use my 12" Cuttlebug, Polka Dot embossing folder.
3. Adhere your paper to your can.
I used tape.
4. Embellish your can
How I embellished mine:
This first step was more involved and honestly I'm not sure that I'm going to do it the same way again.
 1. Make the trim for the top edge
 I cut the edges (the thicker part) off of two colors of burlap. Then I placed them together so I would have a reasonably smooth edge at the top and bottom of the trim line. I got the look that I was after, but it was labor intensive and the hot glue was not kind to my fingers as I struggled to get all the little pieces to stick down.
2. Wrap burlap around the center of your can.
I wrapped mine so the fibers were at an angle.
I wrapped mine so the fibers were at an angle.
 3. Color a 4" paper doily.
Tim Holtz Distress Ink in Tumbled Glass
4. Adhere your doily to the front of your can to frame your label.
5. Print out your sentiment
I got the sentiment from The Cutting Cafe
6. Die cut your label
Spellbinders Card Creator-Reflective Moment die pack.
7. Edge the label with ink
Tim Holtz Distress Ink in the color Vintage Photo.
8. Add twine to the bottom edge of your white craft cardstock and decorate your lid.
I decorated the top by using another 4" doily that I colored with ink. I also added a snowflake that I got from The Cutting Cafe. It's the same snowflake that I used to make my tag (below).
9. The finishing touch
To finish the edge of the lid of the can as well as the bottom edge of the can I hot glued twine to it. I added a pine cone wrapped in some twine to make lifting the lid off easy.
This was a very enjoyable project to do because I just went with whatever came to mind at that moment. To be creative in that way is freeing.
I can't wait to put the chocolate kisses in.
Project 1 Supplies List
Thanks for stopping by and have a great day :)


 -
-


