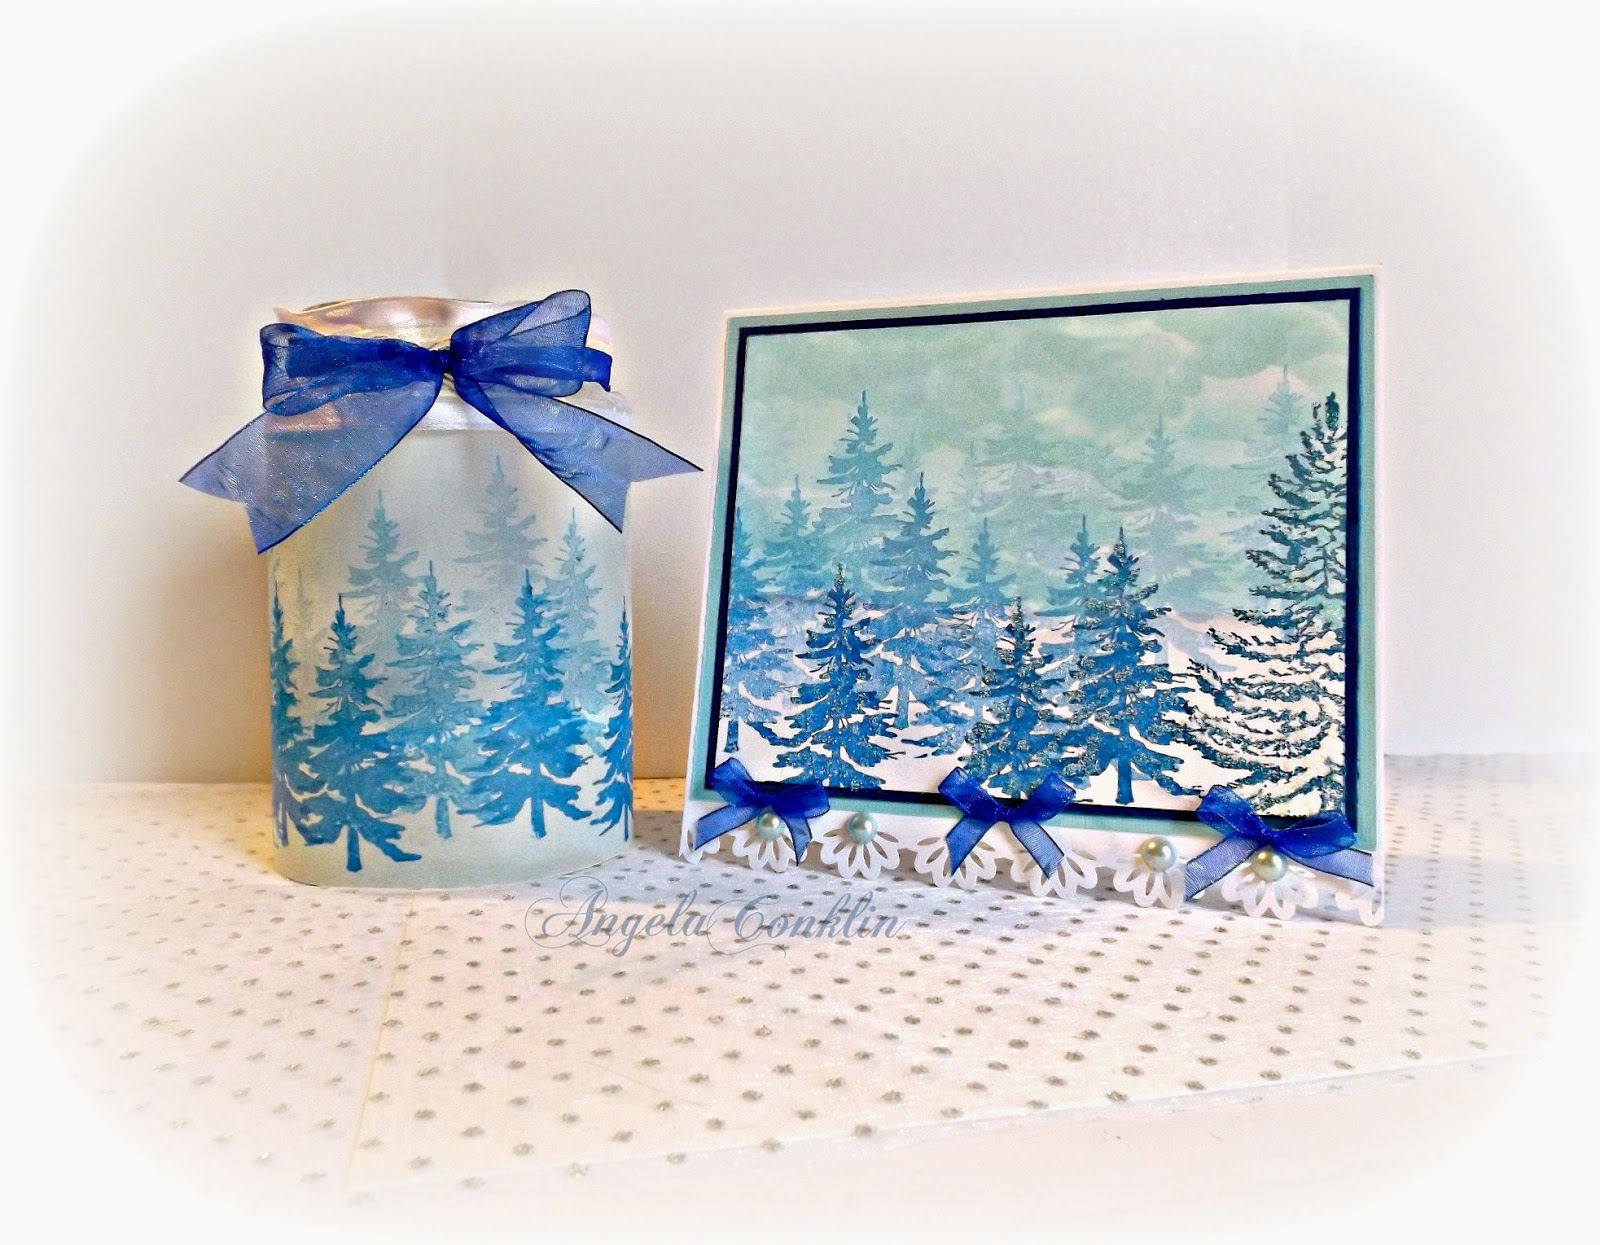
1. Gather your translucent paper, pine tree stamps, and blue ink.
2. Measure your jar and cut your paper to wrap around it.
 6. Once you have the correct size piece of ribbon cut, use a needle and thread to do a running stitch down the center of the ribbon leaving a couple inches of thread hanging out at both sides. The running stitch does not have to be even or neatly done. You will not see it in your finished project.
The extra thread you left hanging on each end of the ribbon is what you will use to tie your ribbon tightly to your jar to keep it in place. I decided to use ribbon in this way because it covers the top edge of the translucent paper and adds to the overall look of the candle.
3. Take your small tree stamp and perform Generation Stamping with your blue ink. If you don't know what Generation Stamping is, the videos below will show you how it works. Make sure to overlap your trees a little to give them
depth. To get the best look make your darkest trees closest to you
and toward the bottom of your paper and the trees should become lighter as
they move further away.
(beginning at 5:00 for the tree stamping)
4. Adhere your finished paper to your jar. I used Mod Podge on the back of the jar right where the paper comes together to hold it in place.
5. Using (1 1/2" wide) sheer white ribbon with wire edges, measure to see how much you need to go around the neck of the jar.
 6. Once you have the correct size piece of ribbon cut, use a needle and thread to do a running stitch down the center of the ribbon leaving a couple inches of thread hanging out at both sides. The running stitch does not have to be even or neatly done. You will not see it in your finished project.
 The extra thread you left hanging on each end of the ribbon is what you will use to tie your ribbon tightly to your jar to keep it in place. I decided to use ribbon in this way because it covers the top edge of the translucent paper and adds to the overall look of the candle.
7. Take your blue (3/4" wide) sheer ribbon, fold it in half, and tie it around the neck of the jar. You will unfold the ribbon just at the front to make the bow.
How to make your card
I made my card a size that is not common so if it were to be placed as a set on a mantel or table, the card would look balanced with the size of the candle. There are some odd measurements, but each measurement can easily be rounded to the nearest quarter inch.
1. Gather your white, light turquoise, and deep blue cardstock.
Measurments of Cardstock
White
6 10/16"w x 12"h
6"w x 4 12/16"h
Light Turquoise
6 1/2"w x 5 1/4"h
Dark Blue
6 3/16"w x 5"h
2. You will be using the same blue ink for the trees that you used on the candle as well as a light turquoise ink for the sky.
3.Start by taking a scrap piece of cardstock and ripping two pieces from it. Mine were about 6 inches wide. Don't try to be neat about it since these will be used as your mask for sponging your sky and clouds, therefore hills and valleys are good.
4. Using your 6"w x 4 12/16"h white cardstock, take your ink and sponge, and make a swirling motion along the edge of the paper. Always start on your ripped piece with your sponge and work into the actual image your making. This will keep you from getting gobs of ink that are too dark on your card. Repeat, changing the position of your paper and leaving some lighter spots that will become the clouds. Take the sky about half way down your paper.
The video shows how to make snowbanks, but it's the same technique I used to make the sky.
5. When your sky is done it's time to start placing your trees. Refer to the directions above for the candle on how to utilize Generation Stamping.
6. Once you're finished with your trees, place little dabs of Glossy Accents on your darkest trees in the front and then add some glitter to them to make them stand out.
7. Fold your 6 10/16"w x 12"h white card base in half (6" mark).
8. Border punch the front and back bottom edges of your card.
9. Adhere your light turquoise mat on your white card base then your dark blue mat on top of the turquoise one.
10. Add your new image centered on your dark blue mat.
11. Add flat back pearls to your scalloped edge and blue bows
Supplies
Happy crafting and thanks for stopping by!


No comments:
Post a Comment