Hello everyone!
Just a quick tip as I race the clock to get Christmas gifts made. I hope this post finds you well and enjoying the season.
Today I'm sharing how I used my die-cuts for a card a few weeks ago and one I'm still working on currently, which may help you look at your dies a little differently.
In past post I've mentioned how much I love my Spellbinders Card Creator dies and showed how to make a fancy symmetrical rectangular shape into a square to fit an image.
This time I will make an asymmetrical shape symmetrical using the large die from the Spellbinders, Card Creator Reflective Moment pack as the example. This specific die is the basis for many beautiful cards all over the web, but one thing you don't see, at least I haven't, is the die turned sideways or upside down. It just looks odd.
So if you're feeling stuck with it always going one direction there is a way to change it.
You can get at least 3 totally different die-cut shapes from this one die.
Here's how:
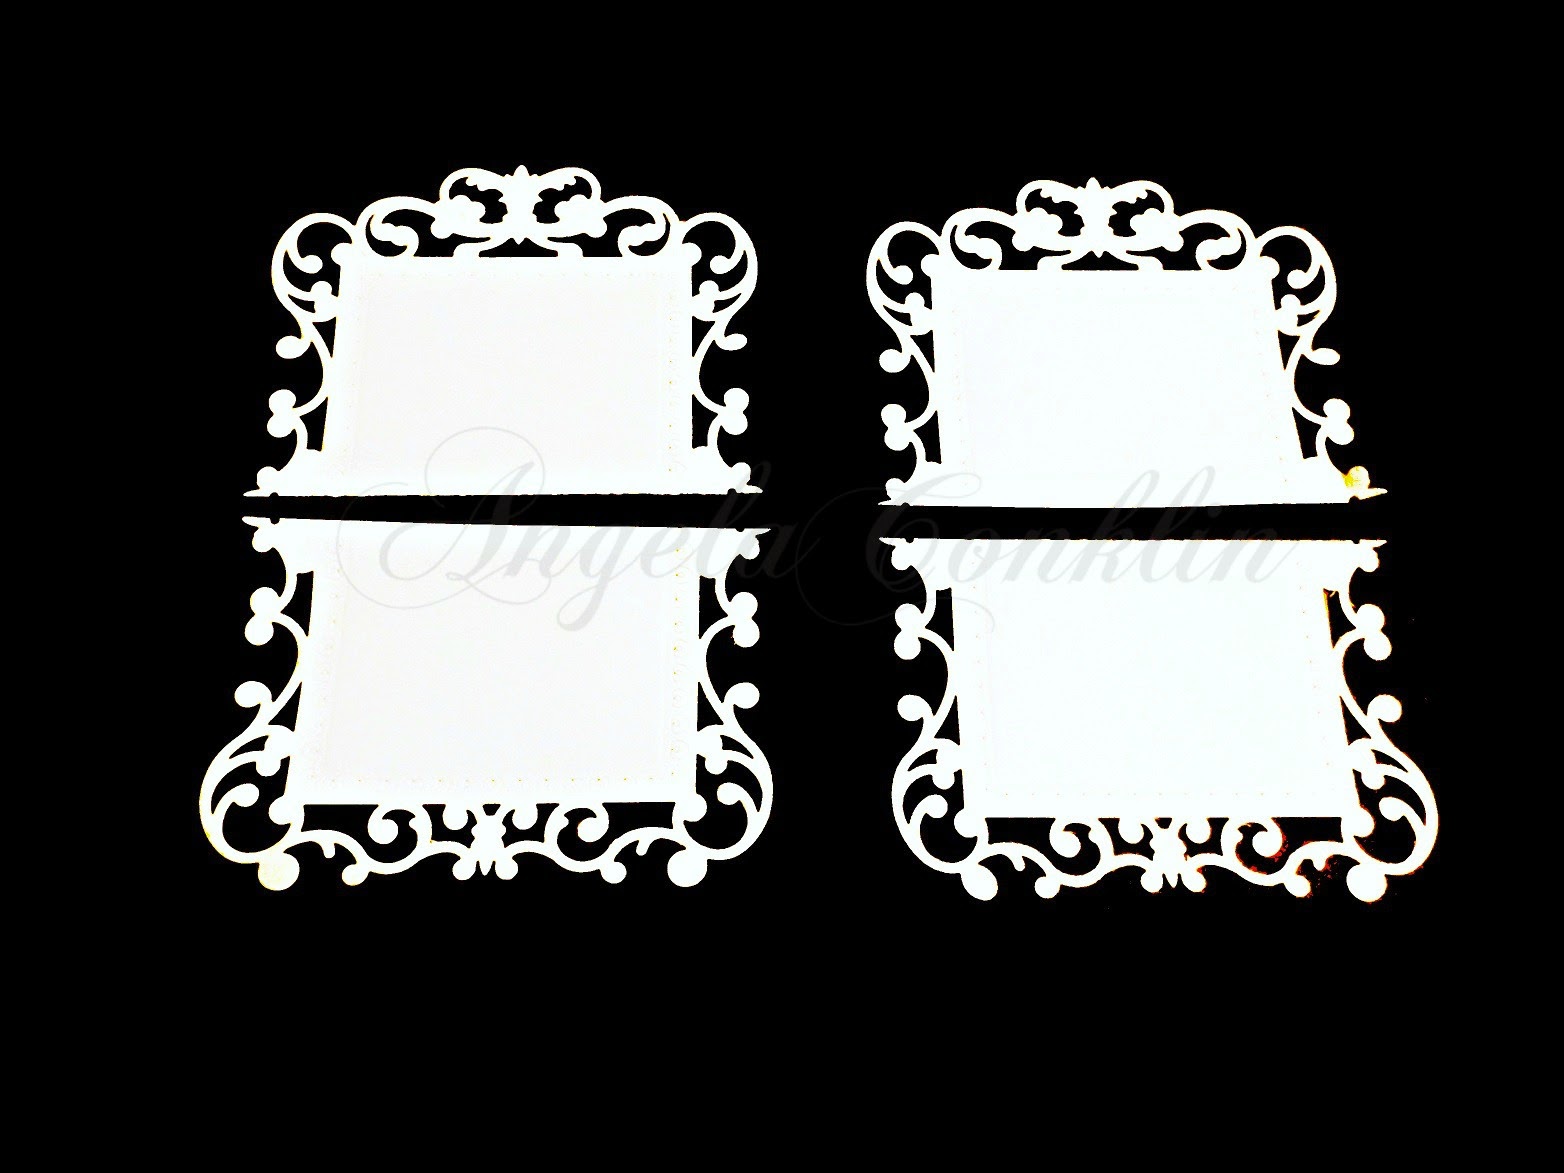
Make two die-cuts of the same shape.
Cut them in half
To finish, match the bottoms together and the tops together to make symmetrical shapes and then run tape down the back of the seams.
The upper shape is using the bottoms and the one below is using the tops.
Now you not only have your gorgeous original shape, but two beautiful new shapes to work with :)
Here is an example when the bottoms were used to make a card a few weeks ago.
There are many ways to use your dies, you just have to play with them to see what you can come up with. This latest discovery left me pleasantly surprised and excited about the options I have from a die that I initially thought would only go so far.
Happy Crafting!


No comments:
Post a Comment