Showing posts with label DCWV The Holiday Cheer Stack. Show all posts

Saturday, November 8, 2014

Handmade Joy Christmas Card in Traditional Colors

Hello Everyone!
 
Did you ever have one of those days when things that you normally ignore, suddenly strike you as funny? I was taking photos of cards I made and my camera kept telling me it detected a blink. This has happened other times too, but for whatever reason it cracked me up and I could barely hold my camera still. I could have used my tripod, but I had to be at uncomfortable angles to catch the little bit of light from outside. It's a gloomy overcast day today. I couldn't even hold my breath to stay still. It would just make me laugh. Thank goodness I'm alone because my family would have thought I was going crazy. Maybe I am? Maybe they do? LOL!

Anyway, I'm sharing a simple Christmas card today. There's some glitter on this one and I like that only the center is decorated with all the snowflakes in the background. I decided to make just the front of the card so that later I can decide if  I want it to be a normal side-fold card or something different. Without a card base holding it up, I had to lean it against the background.
 I cut two white panels for my card and embossed one with the Darice Snowflakes folder and the other I used the Cuttlebug Polka Dot Page folder. Then I cut a strip (about 2 inches) of Christmas paper from the DCWV Holiday Cheer stack and used the Martha Stewart Double Arches, border punch on both sides.

I then embellished the middle of the strip with wide shiny ribbon and a smaller Christmas ribbon. To make the sentiment stand out I backed JOY with a white die cut from the Spellbinders Card Creator, Reflective Moment set. Then I just added a bow and a polar bear.
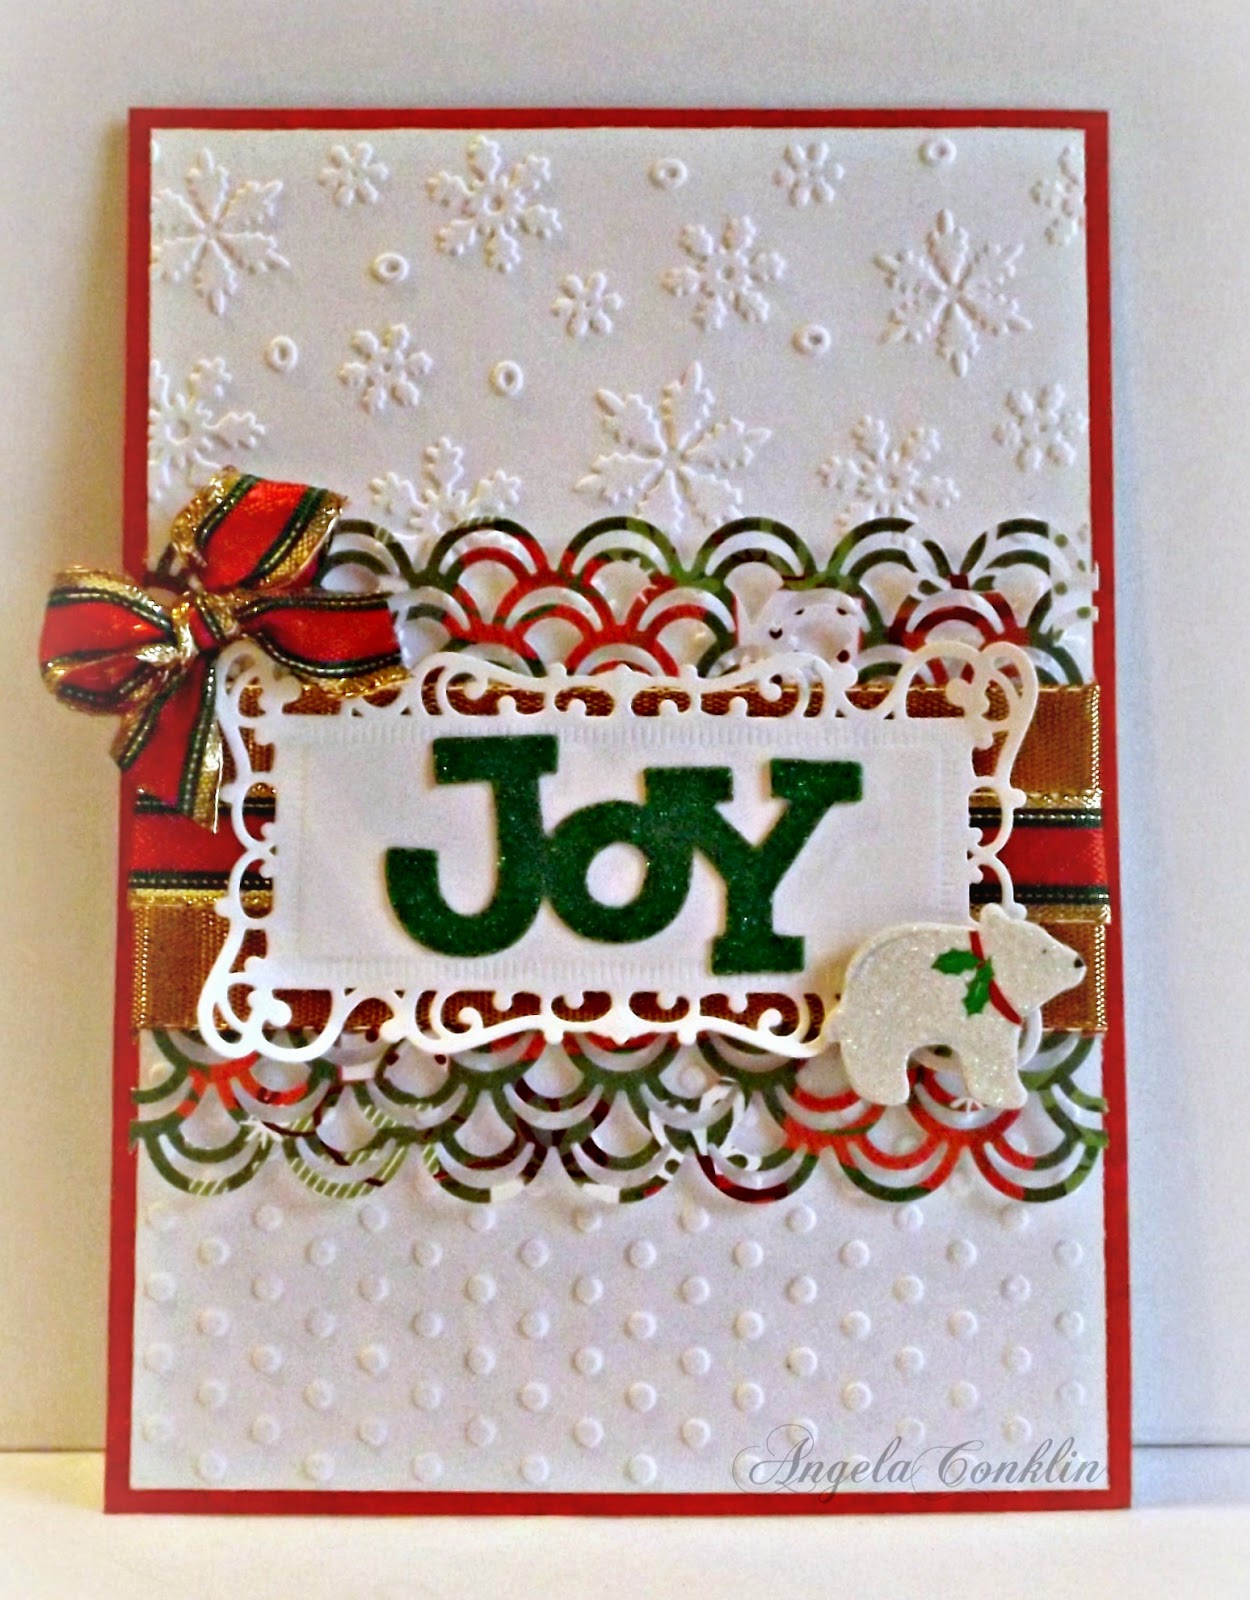
A very simple card to make.


Happy Crafting! 

post signature

Sunday, October 19, 2014

Shaker Easel Card with a Note: Merry Christmas

Hello crafty peeps! Hope you are enjoying your day :)
 
I have continued to work on getting Christmas cards done and would like to share another one with you today. Shaker cards are so adorable and I'm already a fan of the easel card so I combined them. The shaker card does not open, but there is a card for a message on the easel itself.


 A place for a message, gift card, or small photo.

I made both of my scenes digitally and then printed them out on cardstock. I added white glitter with silver flecks to give it that snowy shaker feel and to build out the back for the shaker window I used two layers of thin craft foam of which I hot glued together.
 
 I like this card so much that I sat shaking it to make snowdrifts this morning. So much fun :)

I shared a tutorial in my previous post on how to make an easel card. I didn't look/watch any tutorials to make my shaker card, but I know there are plenty on YouTube if you would like to make one and don't know how to.
 
Happy Crafting!
 post signature

Friday, October 17, 2014

Christmas Easel Card with a Couple of Surprises

Hello crafty peeps!
Today I'm sharing my first easel card and boy was it a journey! I decided to try making my card with just a pair of scissors, an X-acto knife, a ruler and two paper punches and although it took me a little longer, you can make this card if you don't have any special crafting equipment such as a paper trimmer and Sizzix Die Cutting machine. I have to say though, having the tools to make a card makes it MUCH easier.

I made some mistakes, one still shows, but some mistakes and getting carried away with layers led to new ideas.
 
I used paper from the DCWV Holiday Cheers Stack.
 
 
There is a place for a wallet sized photo or gift card that can be added with a little dab of removable/temporary adhesive or you can make it a pocket for cash or a tag.


The easel card opens to reveal a section of which you can write a personal message, add a larger photo, place a stamped image or whatever you want. 

The back of my easel looked too plain so I added some color.

There are no large embellishments inside my card, so it folds flat for ease of mailing. I added a bow to the front, but it won't deform the card as easily as adding something to the inside.

  I recommend the video tutorial below for making the basic easel card. Michael of Notefolds.com tells you the exact sizes of paper you will need for construction of the easel and matting. He made it so easy I had to make one.

Video Tutorial
 
Out-Take
My background took off, dead pine needles and leaves continued to drop into the photo area and my card kept blowing shut. In fact I couldn't keep my card completely open for any shot. Funny!
Nice Fall color in the background though :)
  Happy Crafting!
 post signature